
Pizza! [cauliflower crust style]

Omg. It’s freakin PIZZA made entirely out of VEGETABLES.
No joke.
I love that I can actually pick up a slice and hold it/fold it like a regular, gluten filled crust.
Of course my Sicilian Nana would be like “oh god, that’s weird” but I just can’t deal with the gluten anymore. I’ve been through so many back and forth phases with gluten and ultimately I realize it leaves me feeling like crap. Bloated and just too heavy.
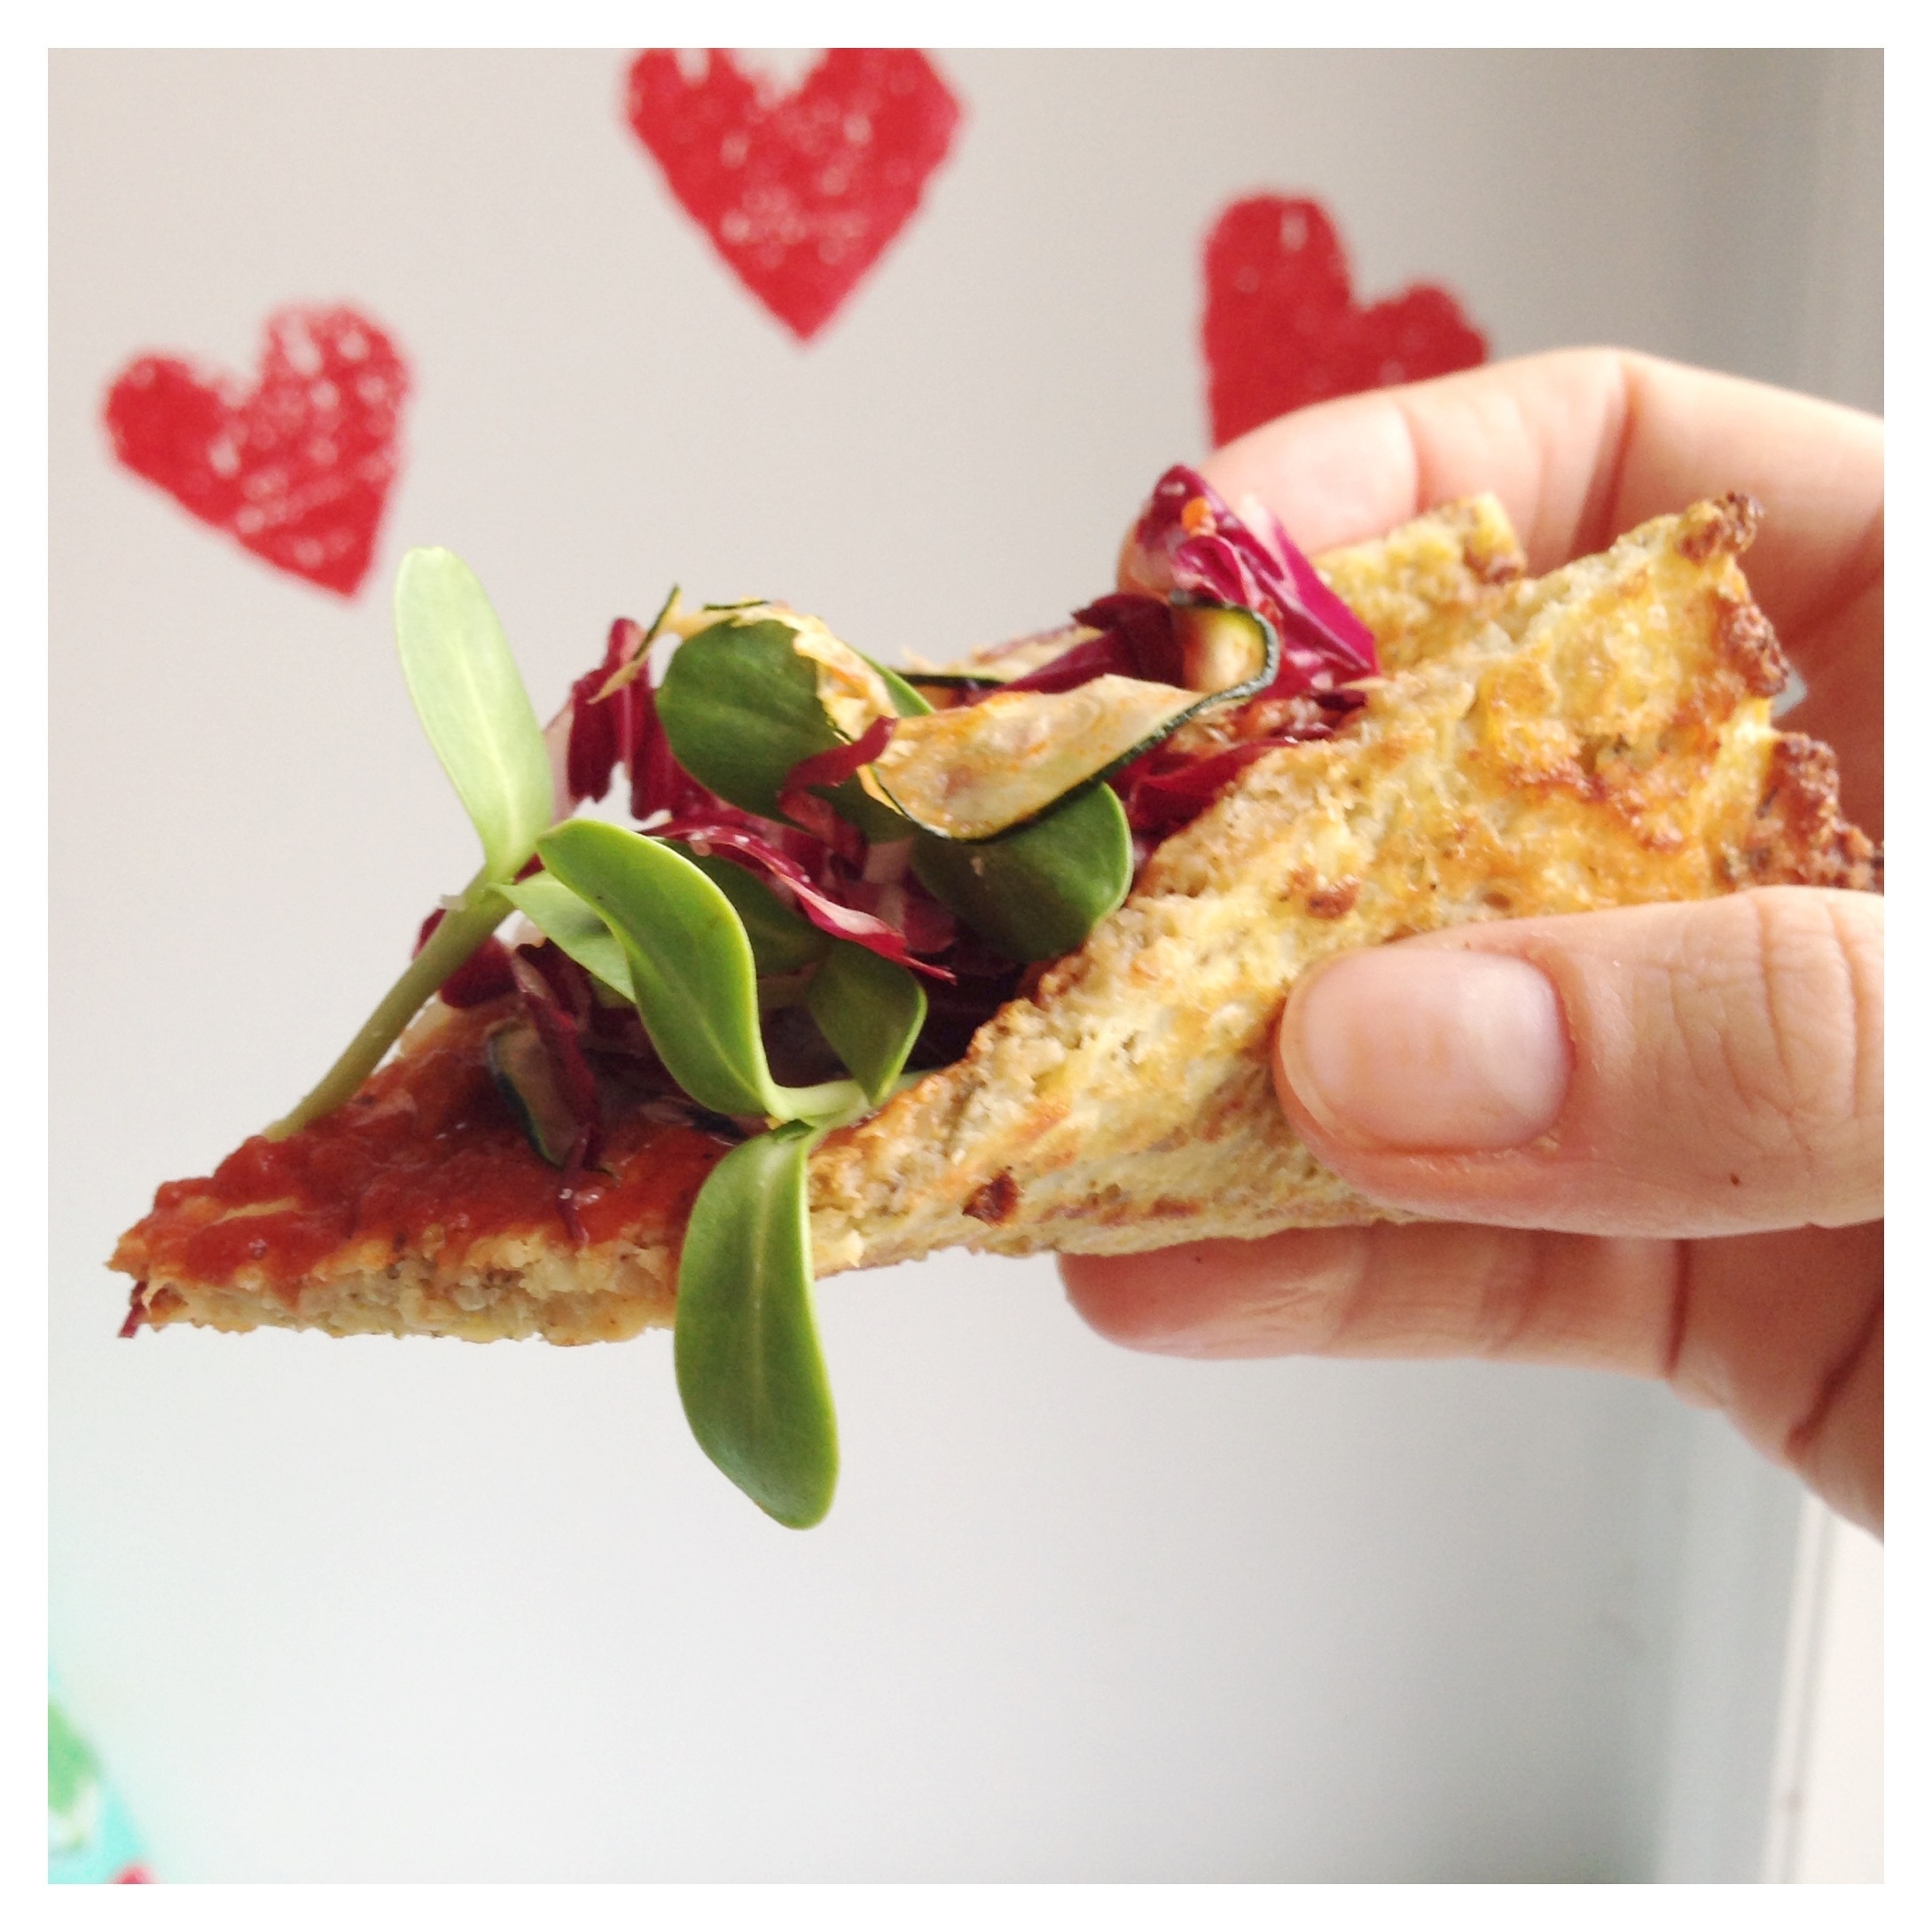
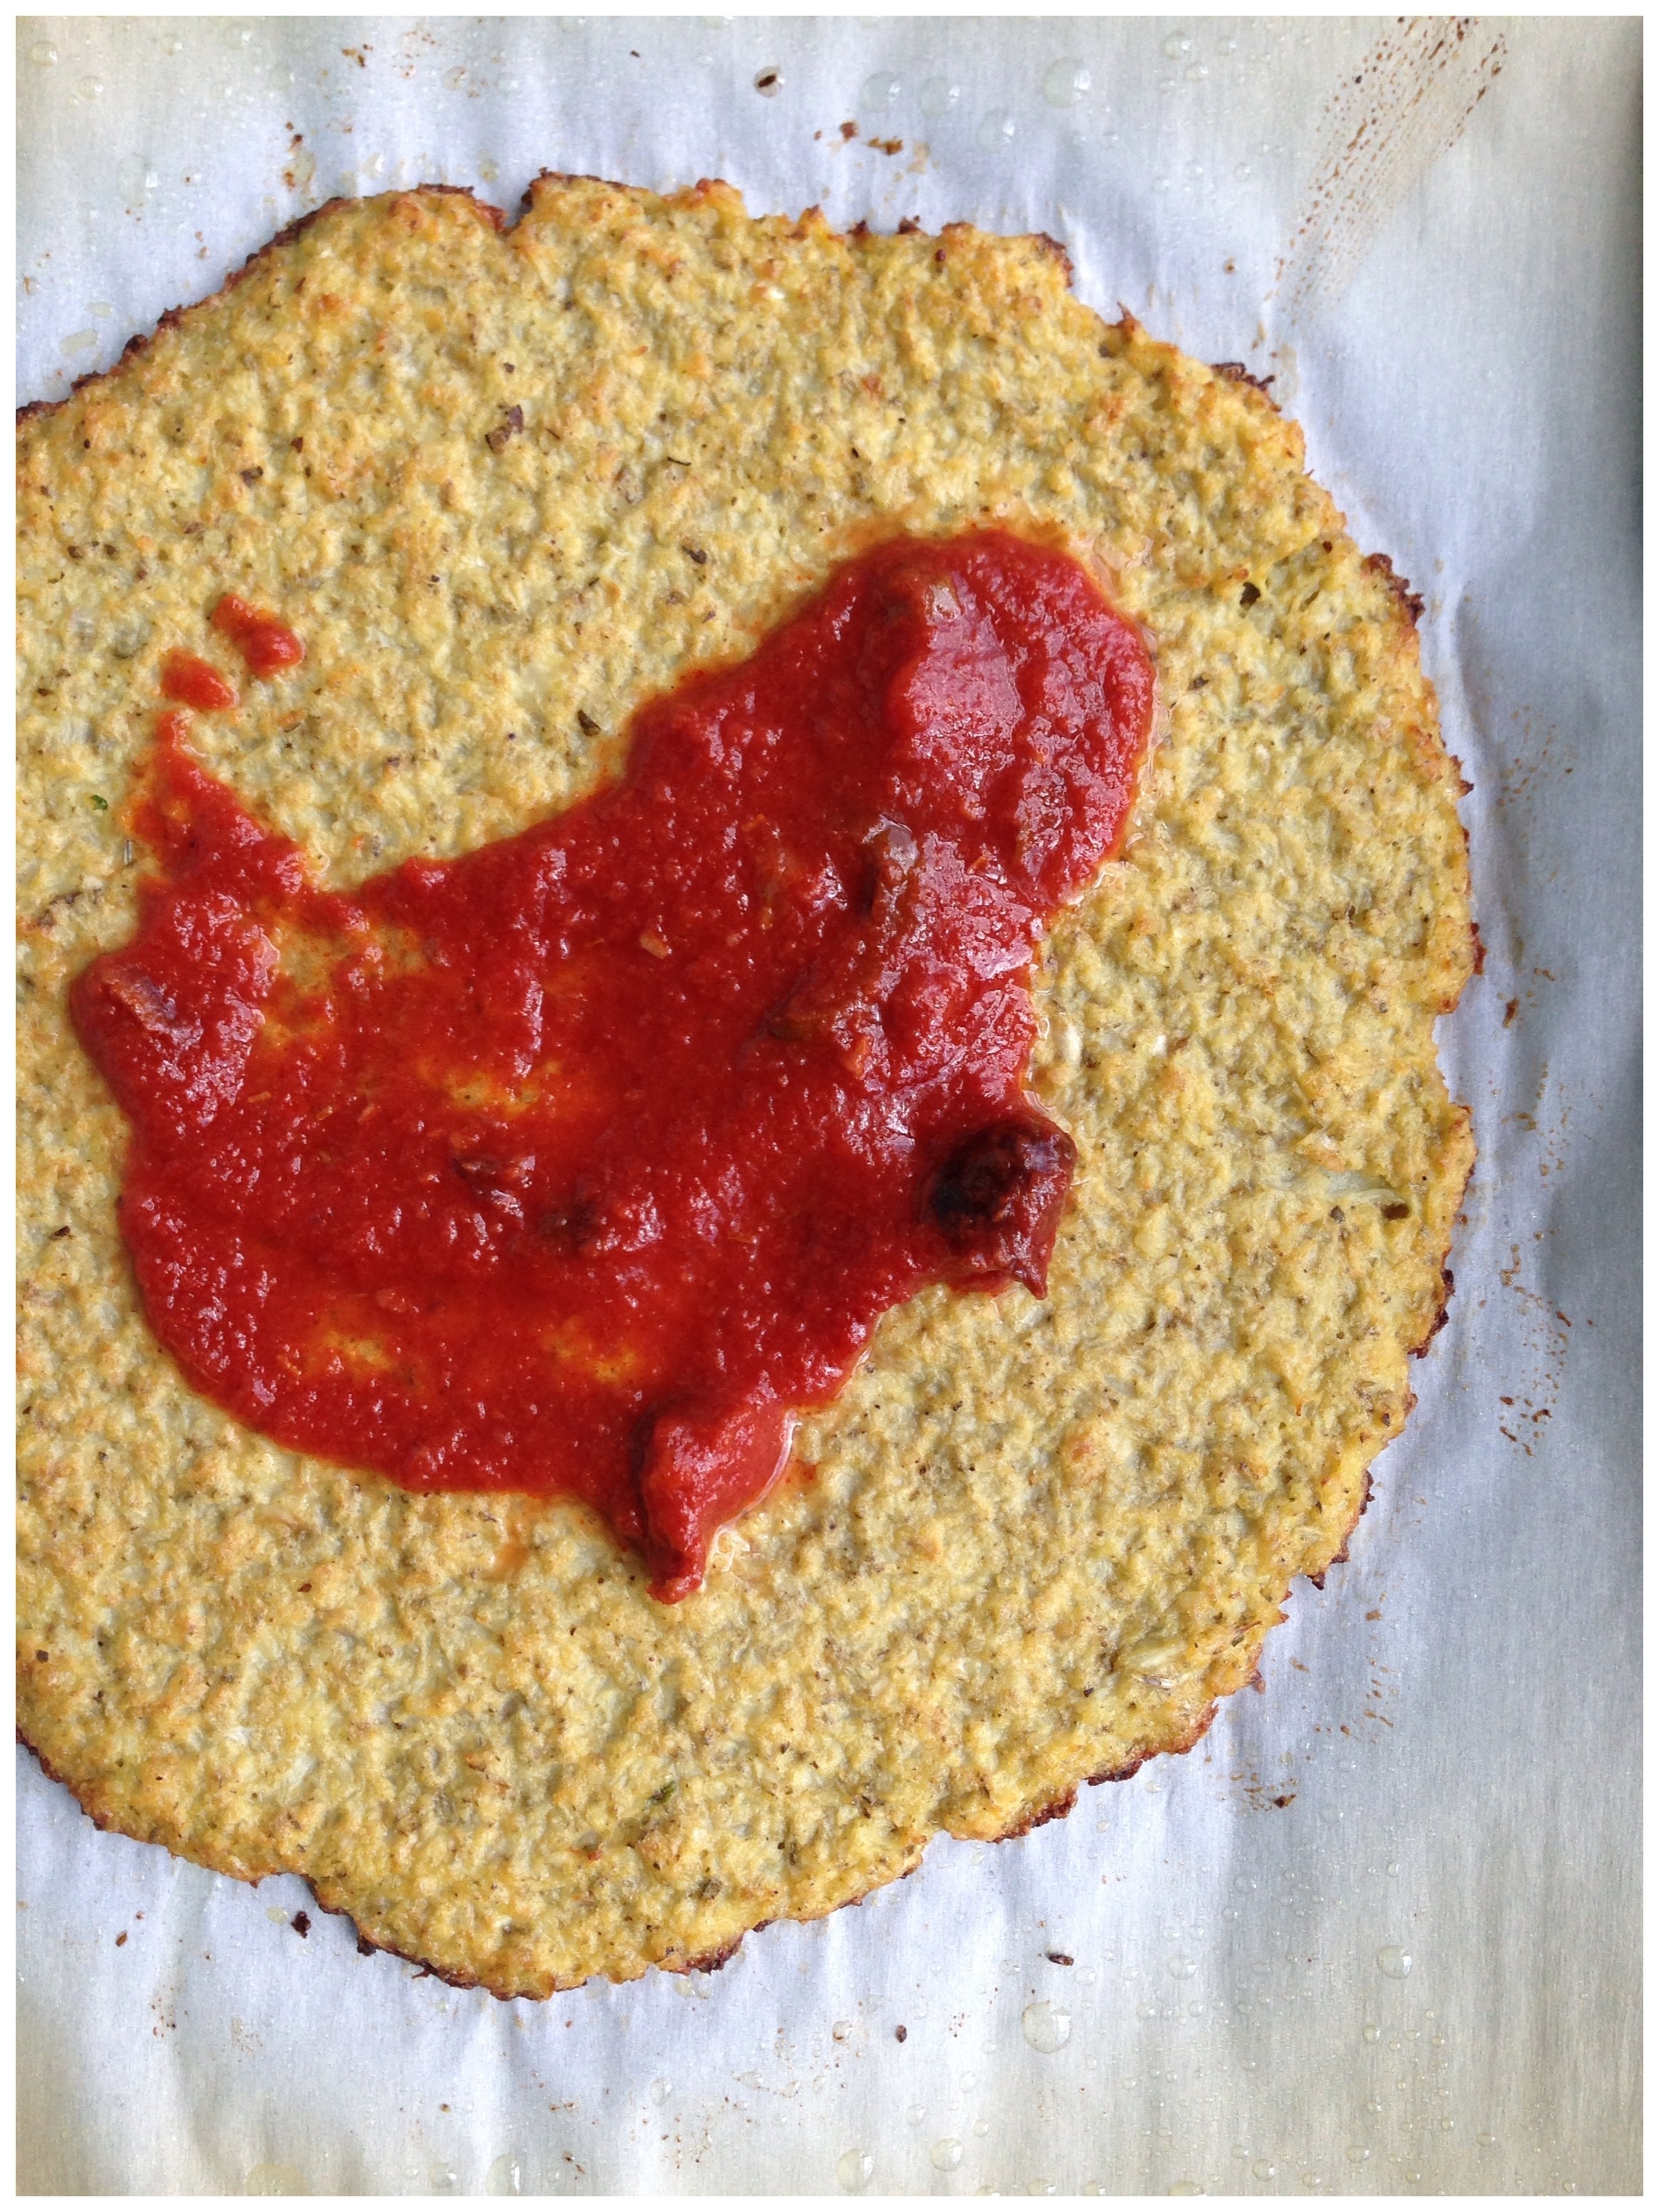
I made a quick tomato sauce and added some chopped olives for extra flavor.
Topped it with very thinly sliced zucchini, radicchio, my homegrown sunflower sprouts and some grated macadamia nut cheese.

I have made many, many gluten free pizza crusts in the past but this is the first one that I actually feel good enough about to post it. I found the recipe on The Lucky Penny Blog. There is a dairy version and a non-dairy; I used the latter. AND I tried it with Bob’s egg replacer and it came out just the same as with a hens egg. So delish, vegan or not.
Also, perfectly suitable for an after 4 meal (if you’re looking for raw till 4 ideas for cooked dinners).
Ingredients:
1 medium head of cauliflower
1/4 t salt
1/2 t dried oregano
1/2 t dried basil
1/2 t garlic powder
2 T almond meal
1 T nutritional yeast
1 T olive oil
1 chia meal egg, flax meal egg or other egg replacer equivalent (or 1 hens egg for non-vegan)
Chop off the florets of the cauliflower. Pulse in a food processor or high powered blender until the consistency of rice.

You should have 2-3 cups of cauliflower.
Place cauliflower in a bowl and microwave for 4 minutes (cover with a paper towel to prevent a mess).
**Note: if you don’t have a microwave, like me, steam the cauliflower florets for 6-8 minutes before putting them in the food processor, or until you’re able to pierce it easily with a fork.**
Preheat oven to 450 while you’re waiting for the cauliflower to cook. Put a pizza stone or a baking tray into the oven to heat up as well.
Get a piece of parchment paper large enough to fit on the baking tray/pizza stone and lay it on a cutting board. Spray or rub lightly with olive/grapeseed oil.
Dump your hot cauliflower “rice” onto a clean dish towel and let cool for a few minutes.
Grab the edges of the towel, bring them together and squeeze the water out of the cauliflower by wringing it out like a wet towel.
This is the most important part!!!
Get as much water out as possible. I ended up with almost 1/2 c of water. If you don’t squeeze out the water, your crust will crumble and fall apart after you cook it.
Dump your dry cauliflower rice into a mixing bowl and add the remaining ingredients.
Mix well! I used my hands.
Spread your dough out on the parchment paper and shape accordingly. Mine ended being about 1/2 inch thick. Don’t make it too thick or too thin.
Remove your hot pan/pizza stone from the oven and use your cutting board to help you slide the parchment paper & dough onto it.
Bake for 10-15 minutes or until the edges start to brown.
Remove from the oven and top with some sauce and your toppings. Nothing that needs to be cooked through because you don’t want to dry out the crust much more. Only another 6-8 minutes in the oven should be the maximum.
If you want to top it things like peppers or onions, I’d recommend cooking them before hand, that way you don’t end up burning your crust or having raw veggies.
Hope you enjoy this as much as I did!


7 Responses to “Pizza! [cauliflower crust style]”
Reblogged this on angelogorek.
This looks amazing! Shared it on twitter and I’m definitely trying it next week. 🙂
Awesome!! Hope you enjoy it 🙂
I love cauliflower and it tastes amazing with marinara in a form like this!
Hi! thanks for sharing – think it would come out crispy w/out the yeast – my son is on GAPS and not allowed yeast yet.. thanks 🙂
Hi Kristen!
Nutritional yeast is not an active yeast like brewers yeast. It’s a vegan B12 supplement that is used for a cheesy flavor. If you can’t find it or don’t want to use it, it won’t affect the crust in any way! If you’re not vegan you could add some grated parmesan or pecorino for extra flavor. 🙂
This looks delicious, can’t wait to make this! You are a genius!!!