
Onigirazu!
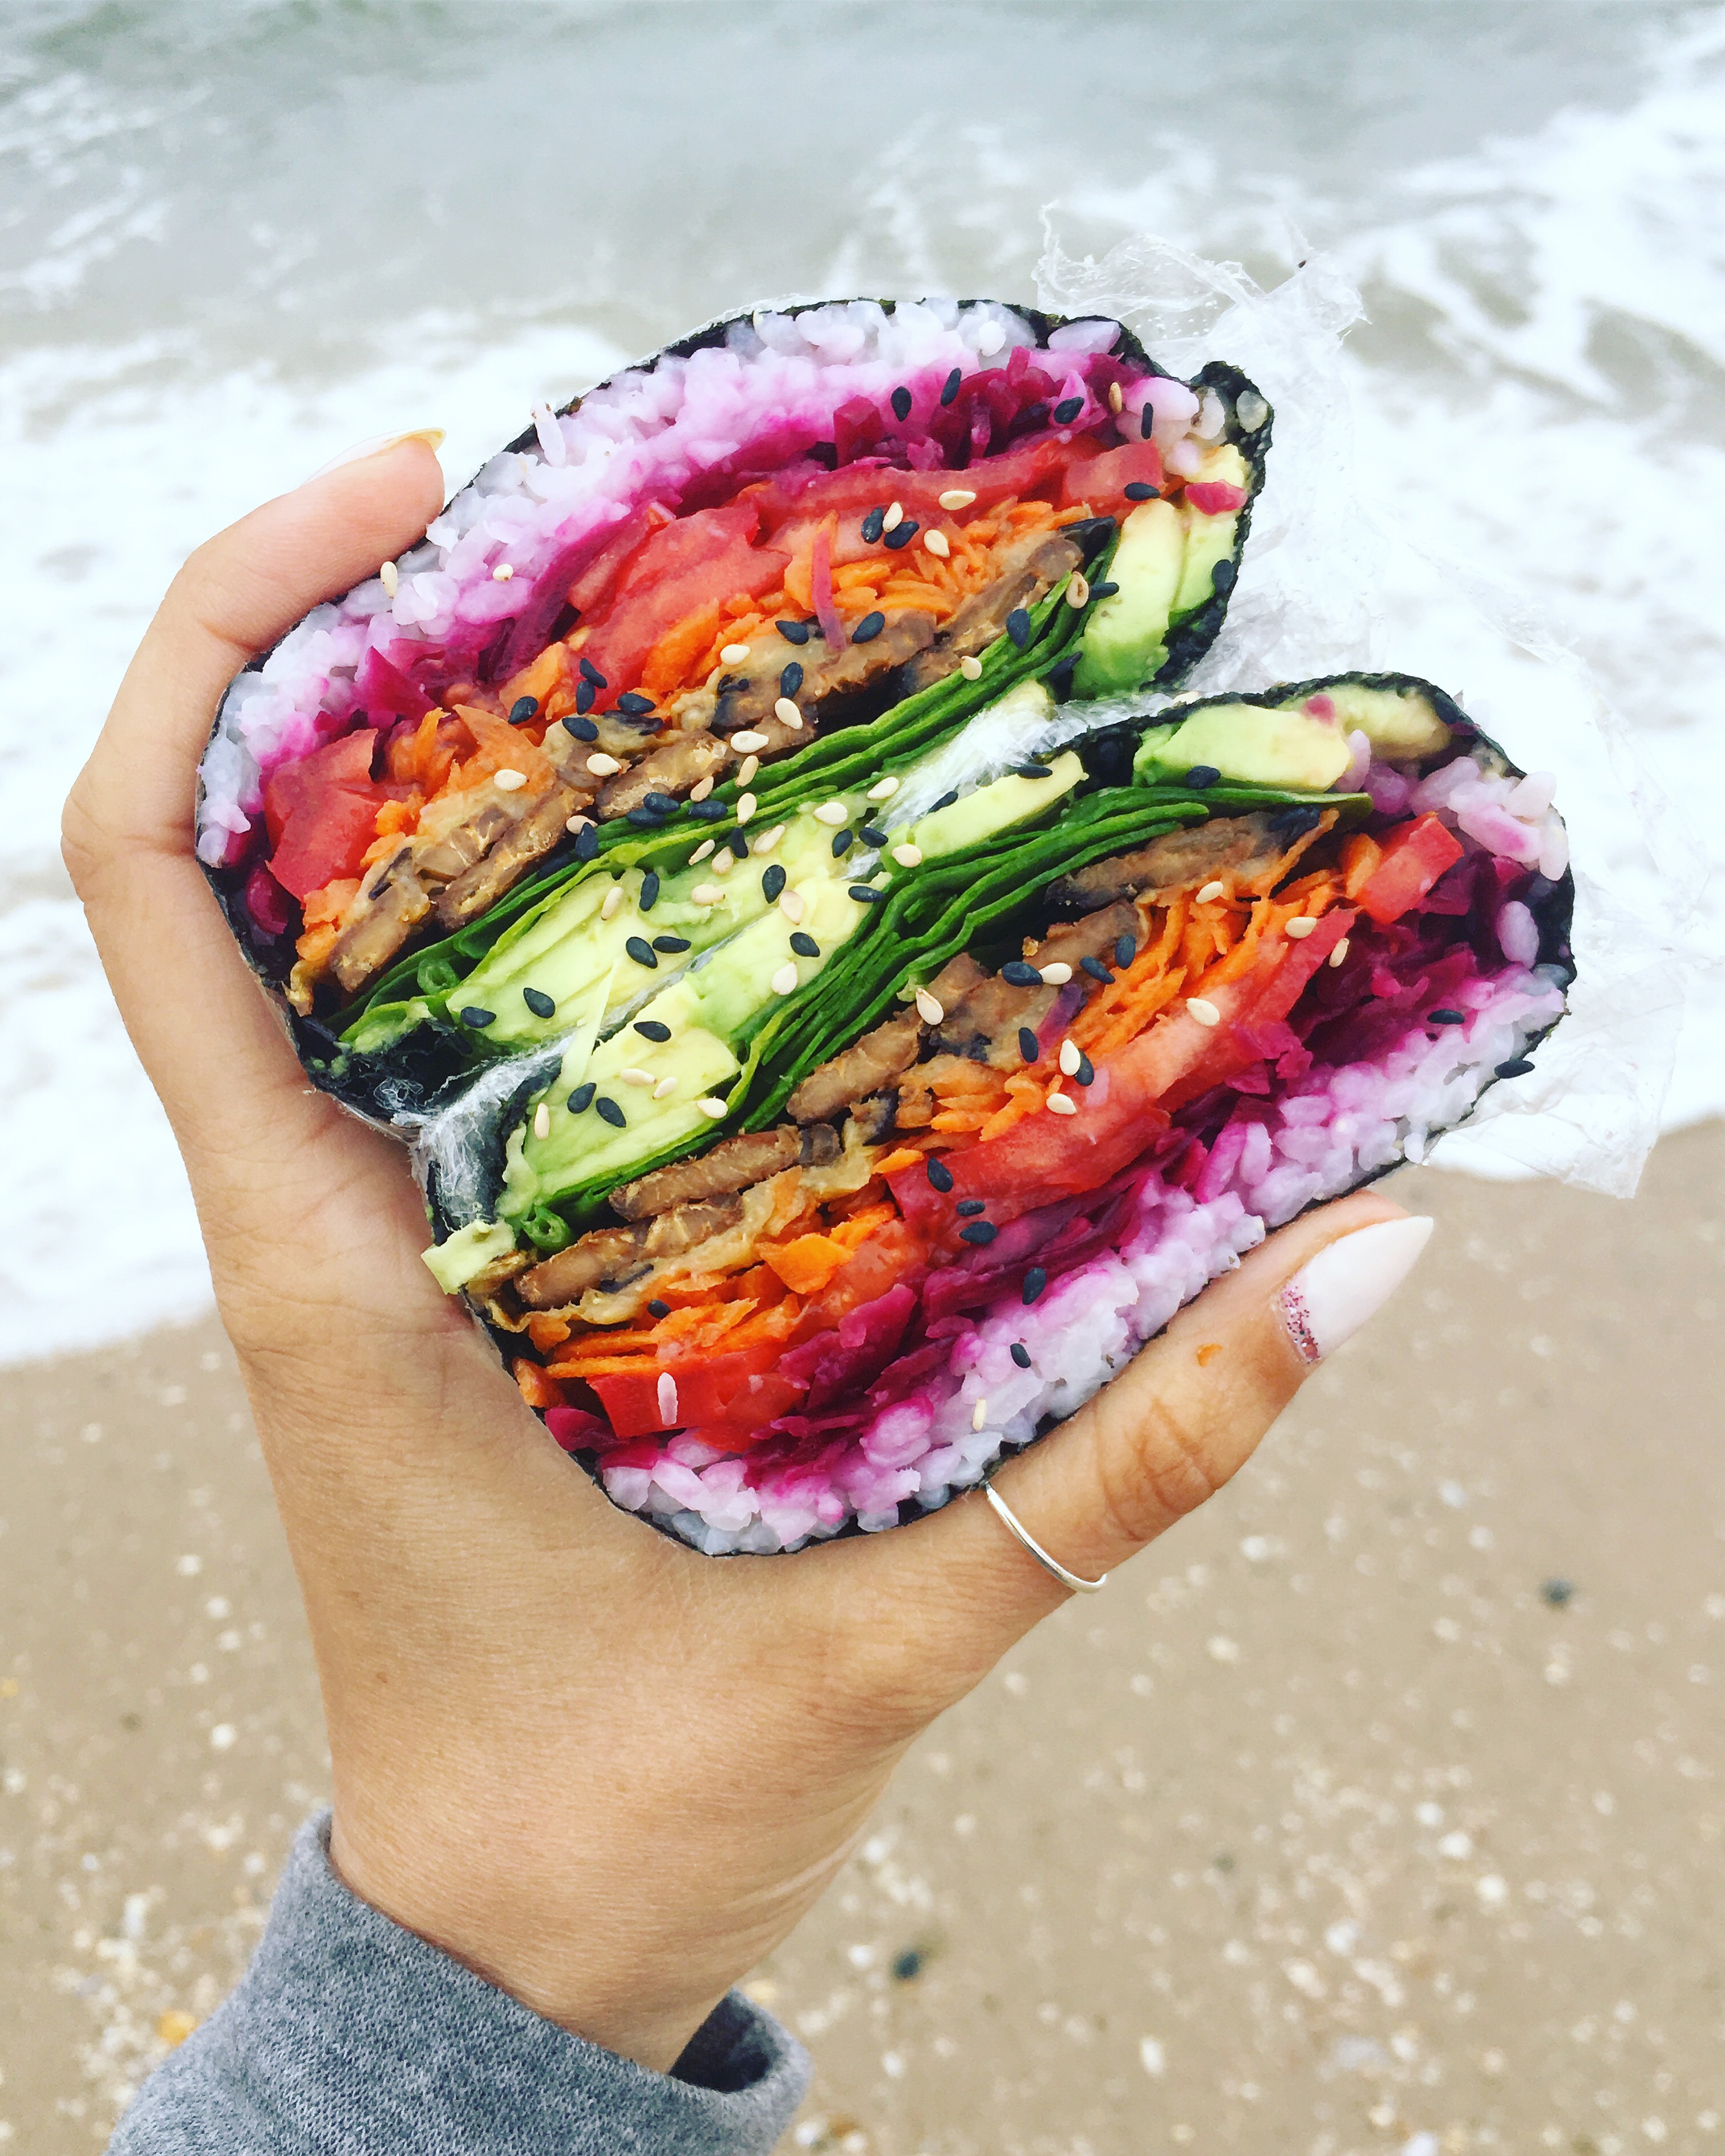
A little bit about onigirazu, also known as a “sushi sandwich”:
Onigiri roughly translates to rice ball in english: nigiri, to mold (rice) in one’s hand, and nigirazu, where razu means the opposite, to not mold in one’s hands. Essentially, onigirazu means a rice ball that does not need to be molded in one’s hands. (there’s literally a little light bulb going off in my head as I’m reading this from thespruce.com right now, lolz, like AHHHHH OMFG I get it now)
I advise reading through this whole post and making sure you understand it before diving in! It can be a bit tricky the first time.
I think I’ve become so in love with making sushi sandwiches, as opposed to just sushi, because it is SO much easier. Obviously the prep work is the same, but it’s the actual *rolling* (?) that gets cut out of the equation and the slicing, blah blah you know what I mean. The slicing of the sushi roll is the hardest part, in my humble opinion. I’m always wasting some stuff on the ends, or squishing some veggies out, ripping the nori, or just some catastrophic thing is happening and I’m panicking clearly way more than I should be about frikkin sushi.
Onigirazu is much more zen for me.
So get your ingredients prepped as per usual:
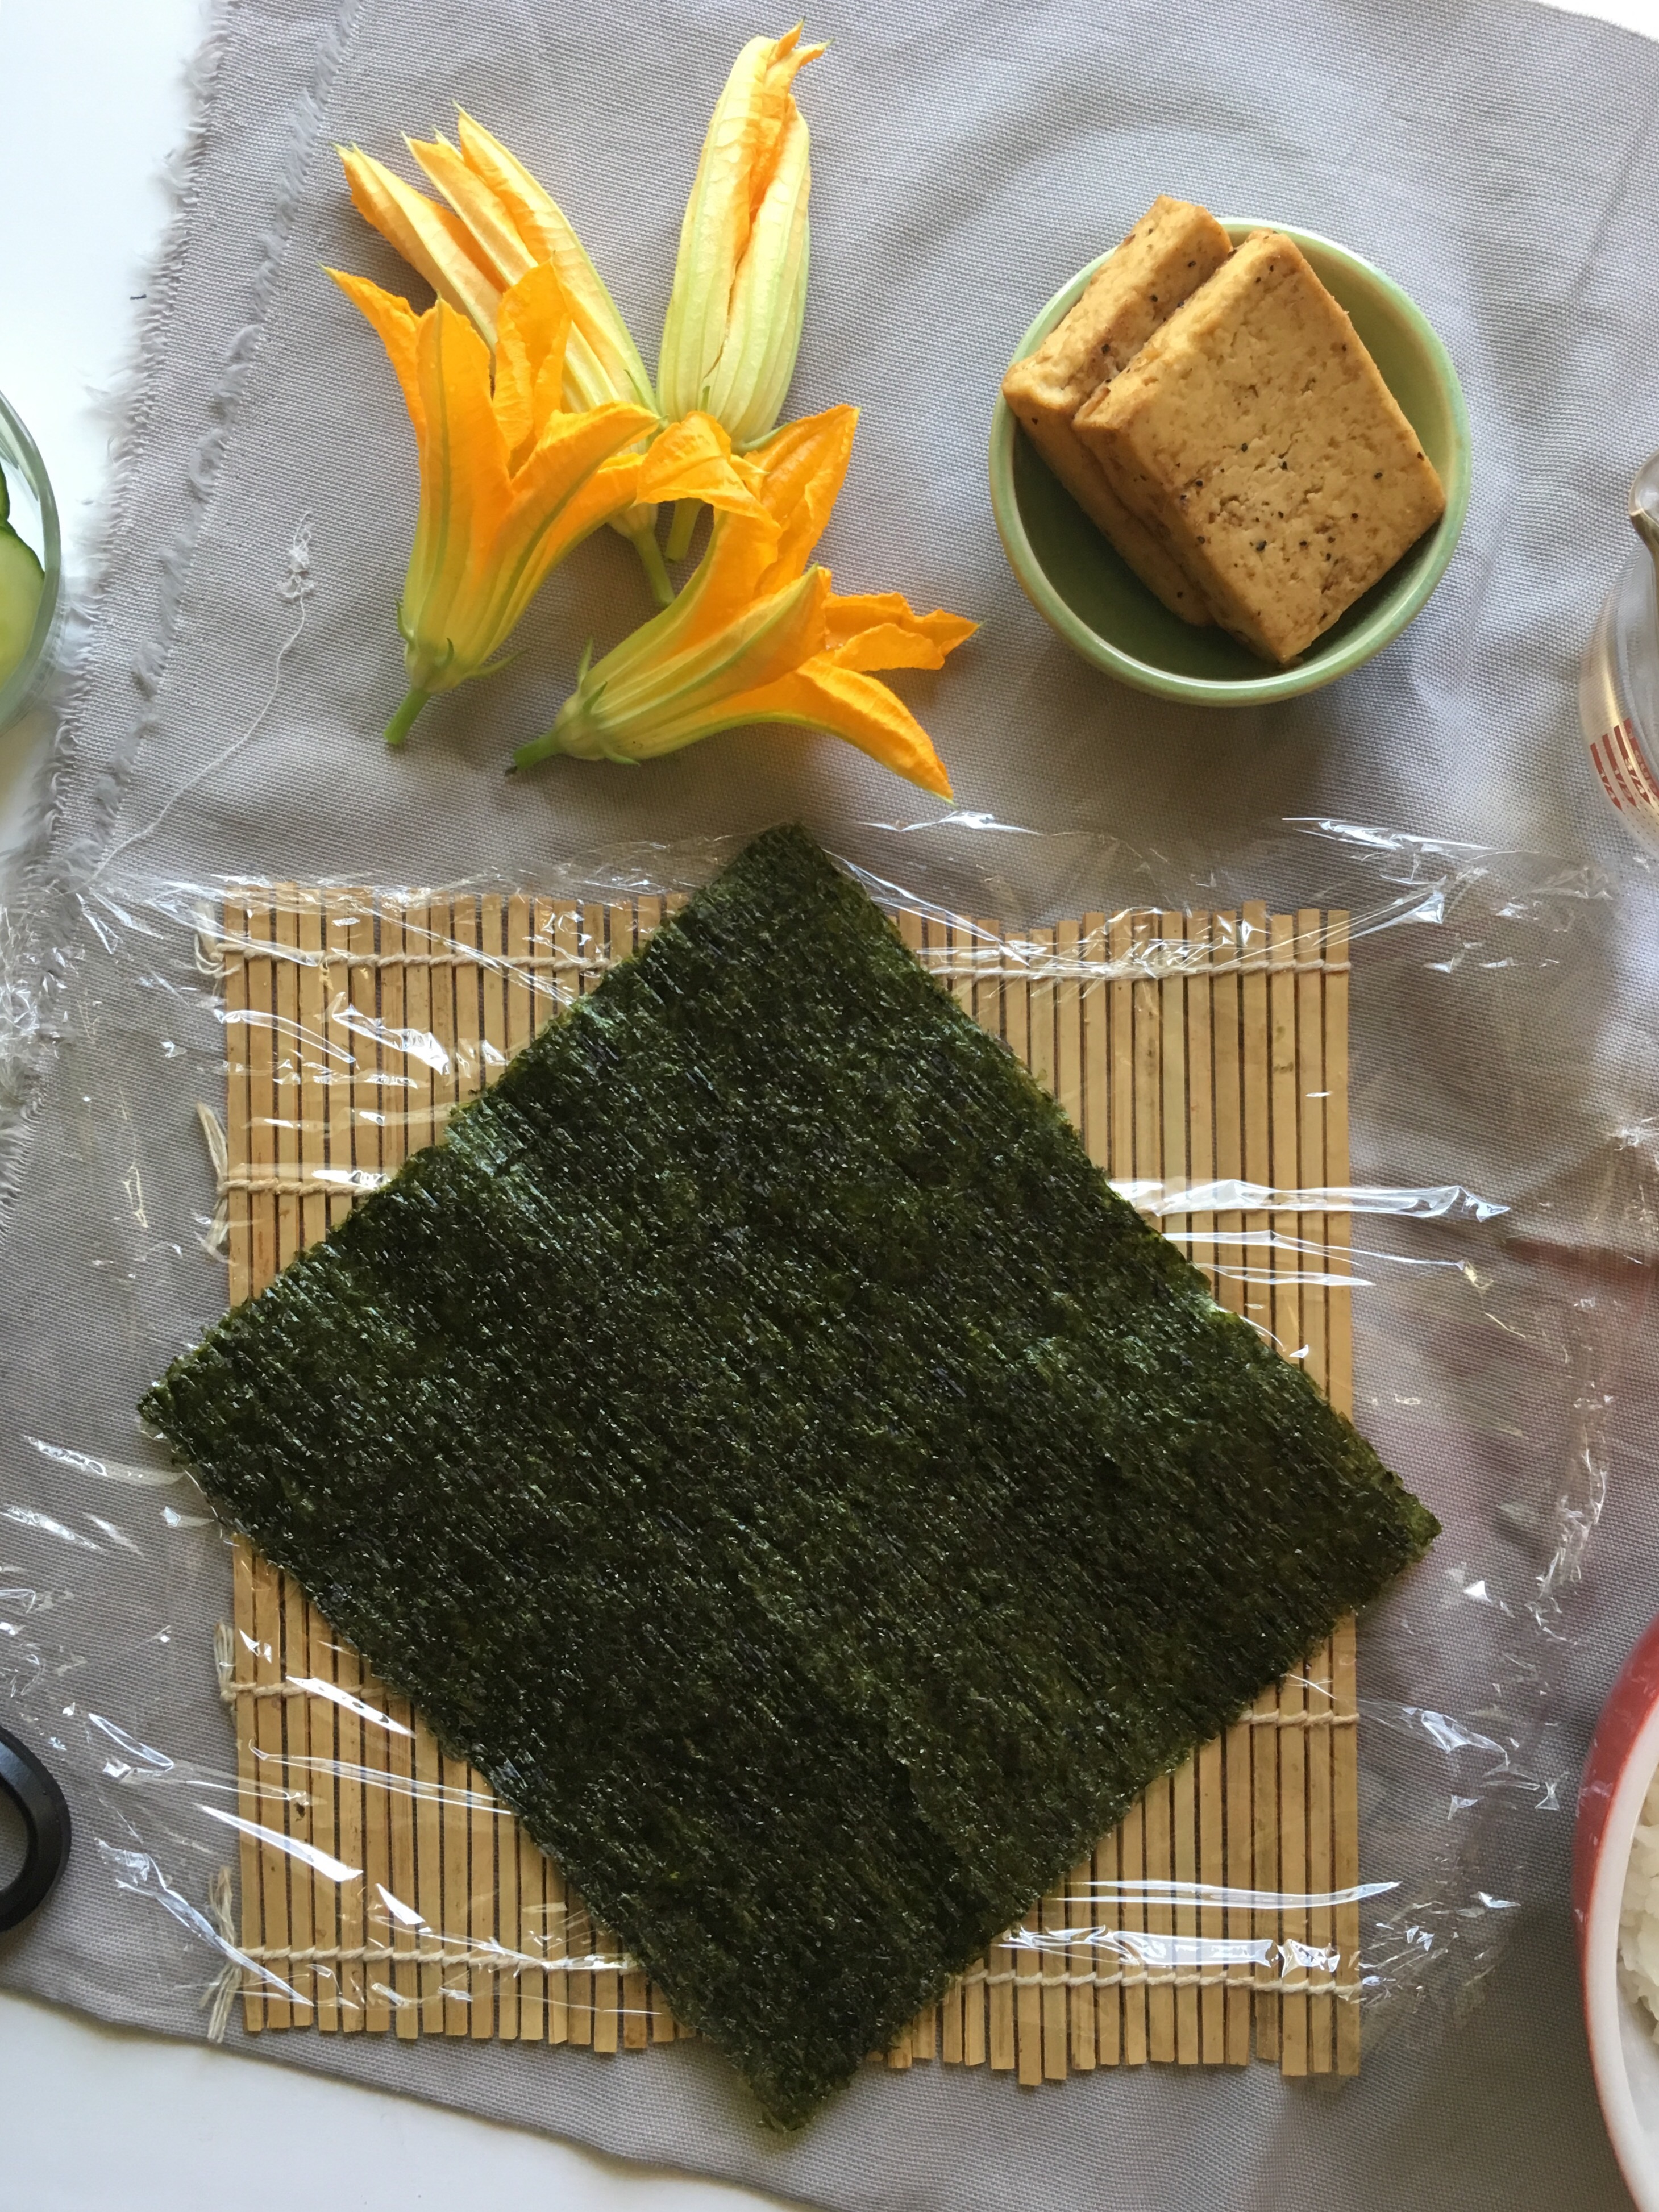
- nori – I’m using SeaSnax nori! This stuff is SO fresh. They sent me a box of goodies to test out and their raw nori folded up like a DREAM 💕 (and the little boxes of toasted nori sheets are incredibly addictive – perfect beach/ hiking/ camping/ anytime snack)
- sushi rice (cooked already, cooled a bit and seasoned with rice vinegar)
- whatever the heck you wanna put in your sandwich
- sesame seeds for a pretty topping
ok lets talk about what to put inside:
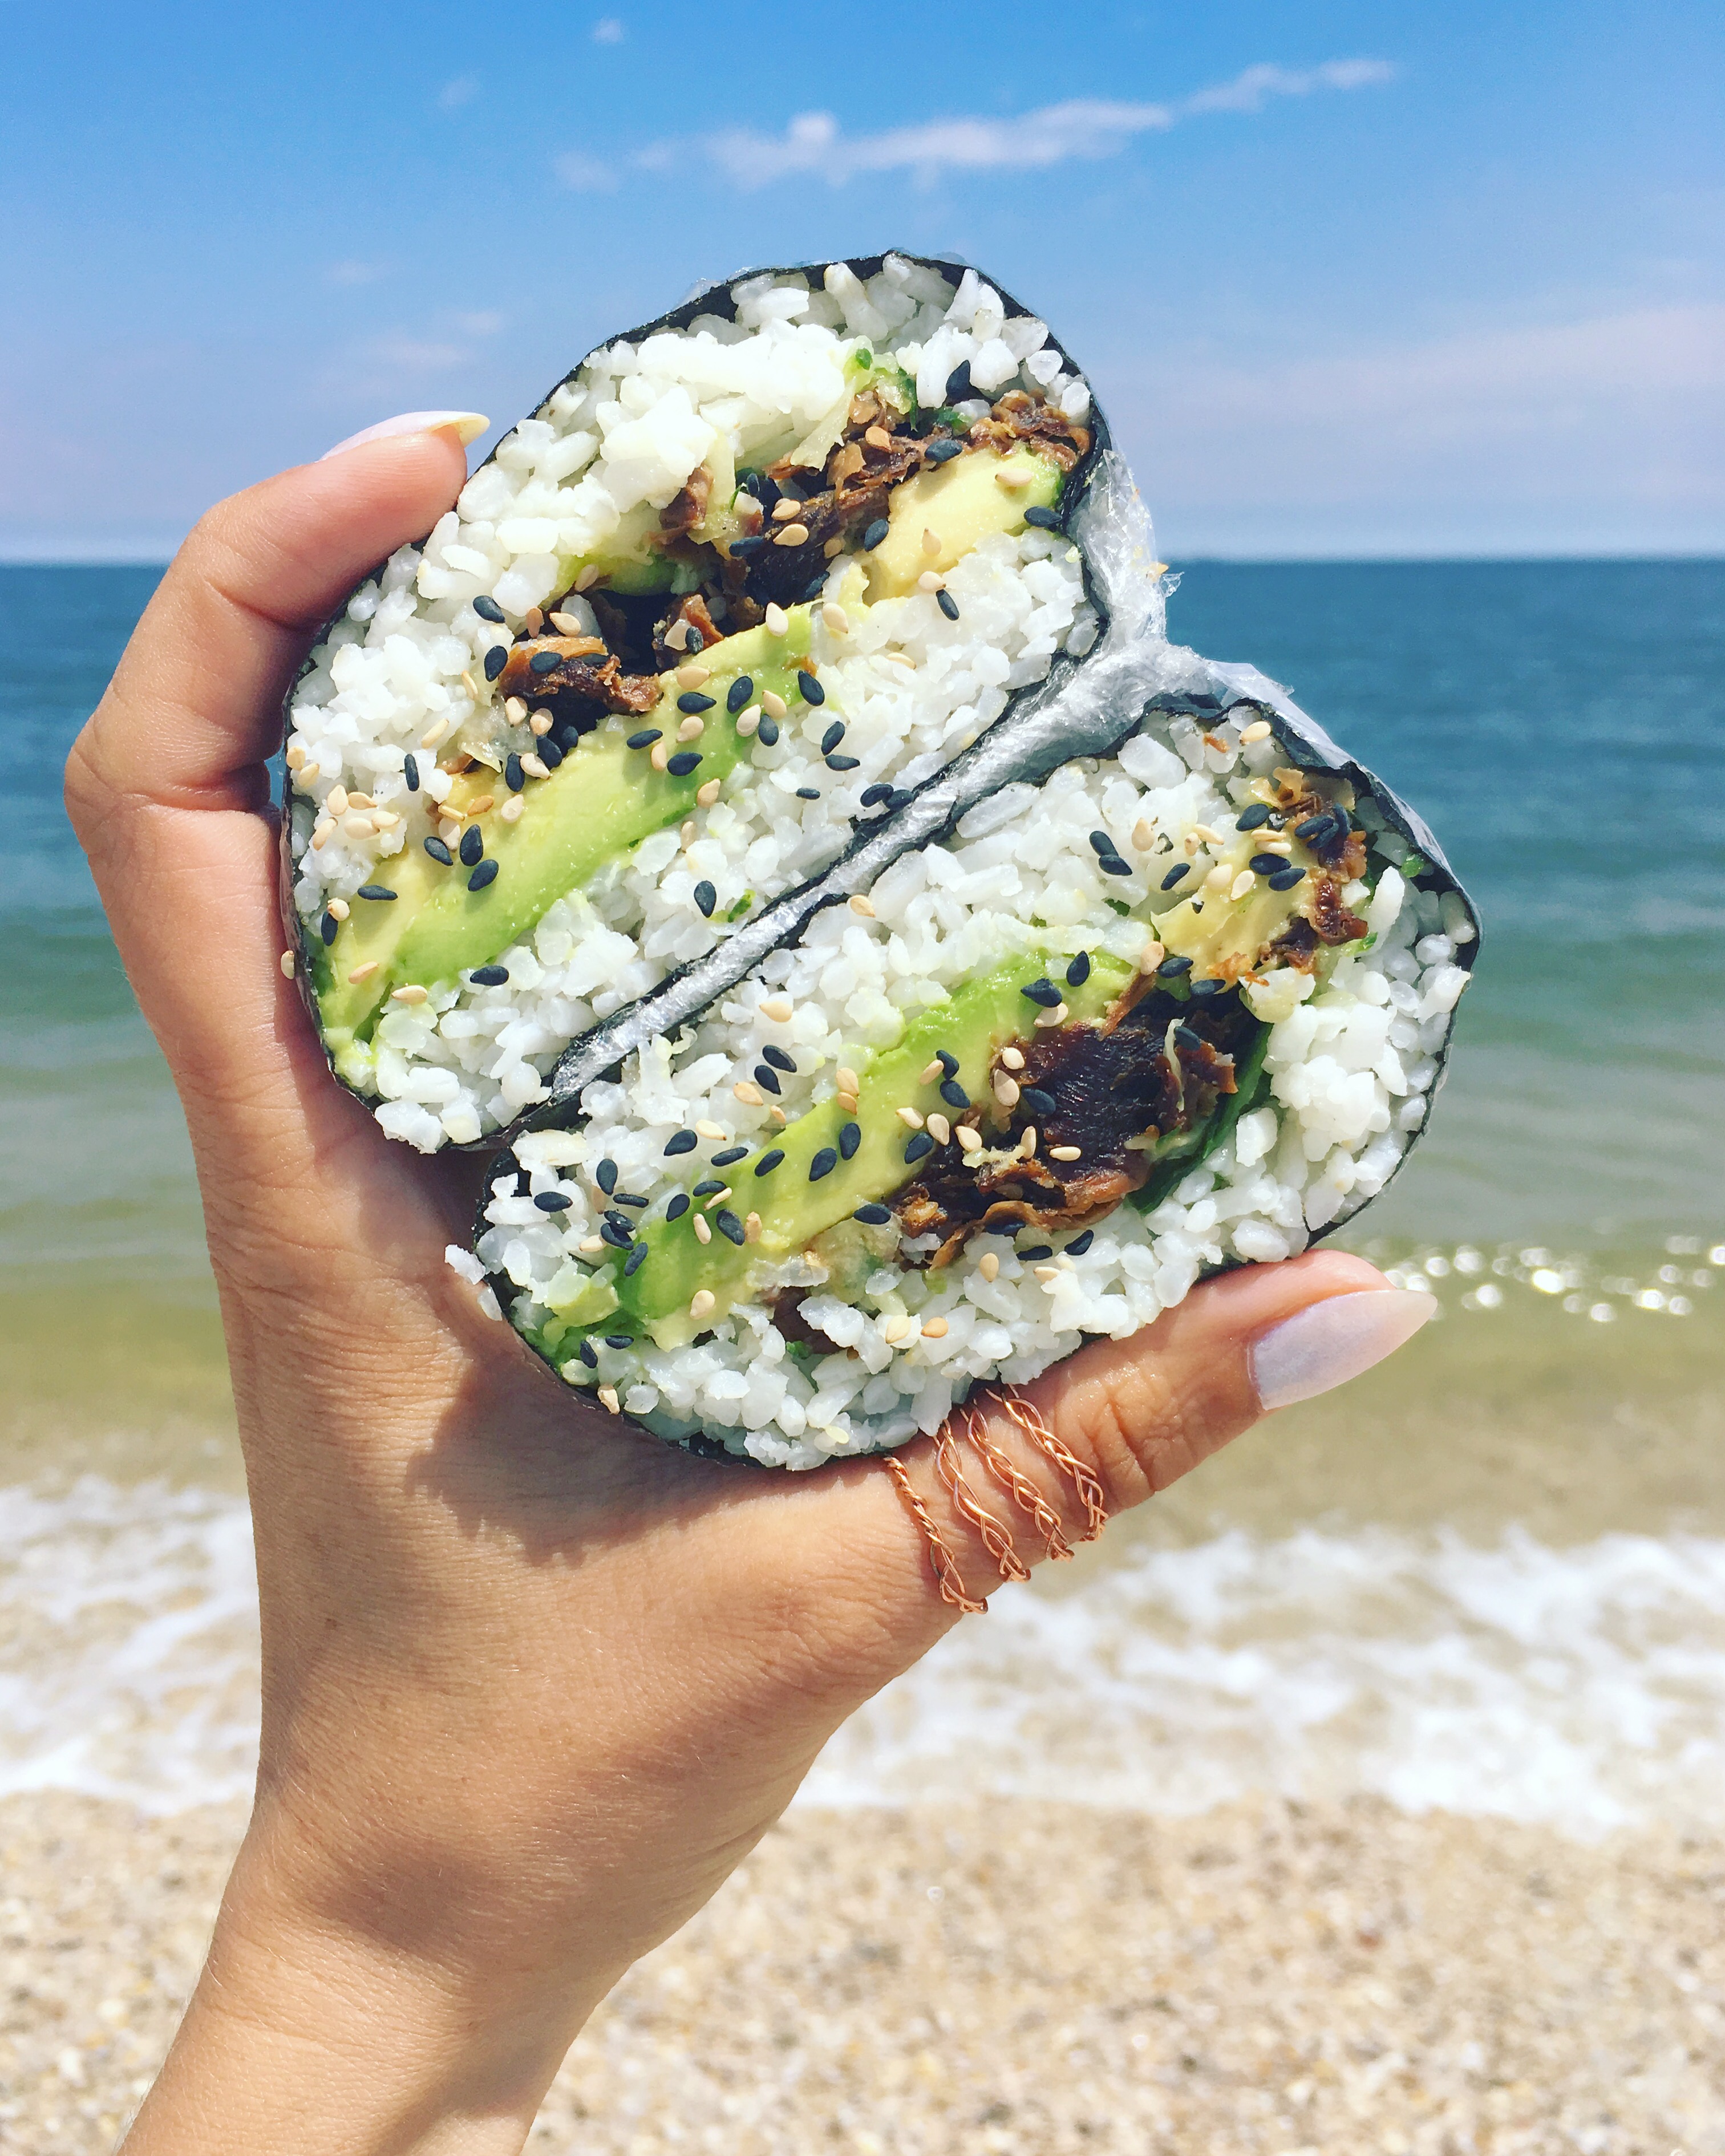
- avocado, as much as I love it, is a tough one to put in onigirazu. It slides around and falls out to the sides and I’m like wtf. Try it if you want but just take into consideration that it is kind of a pain in the buttocks to keep in line.
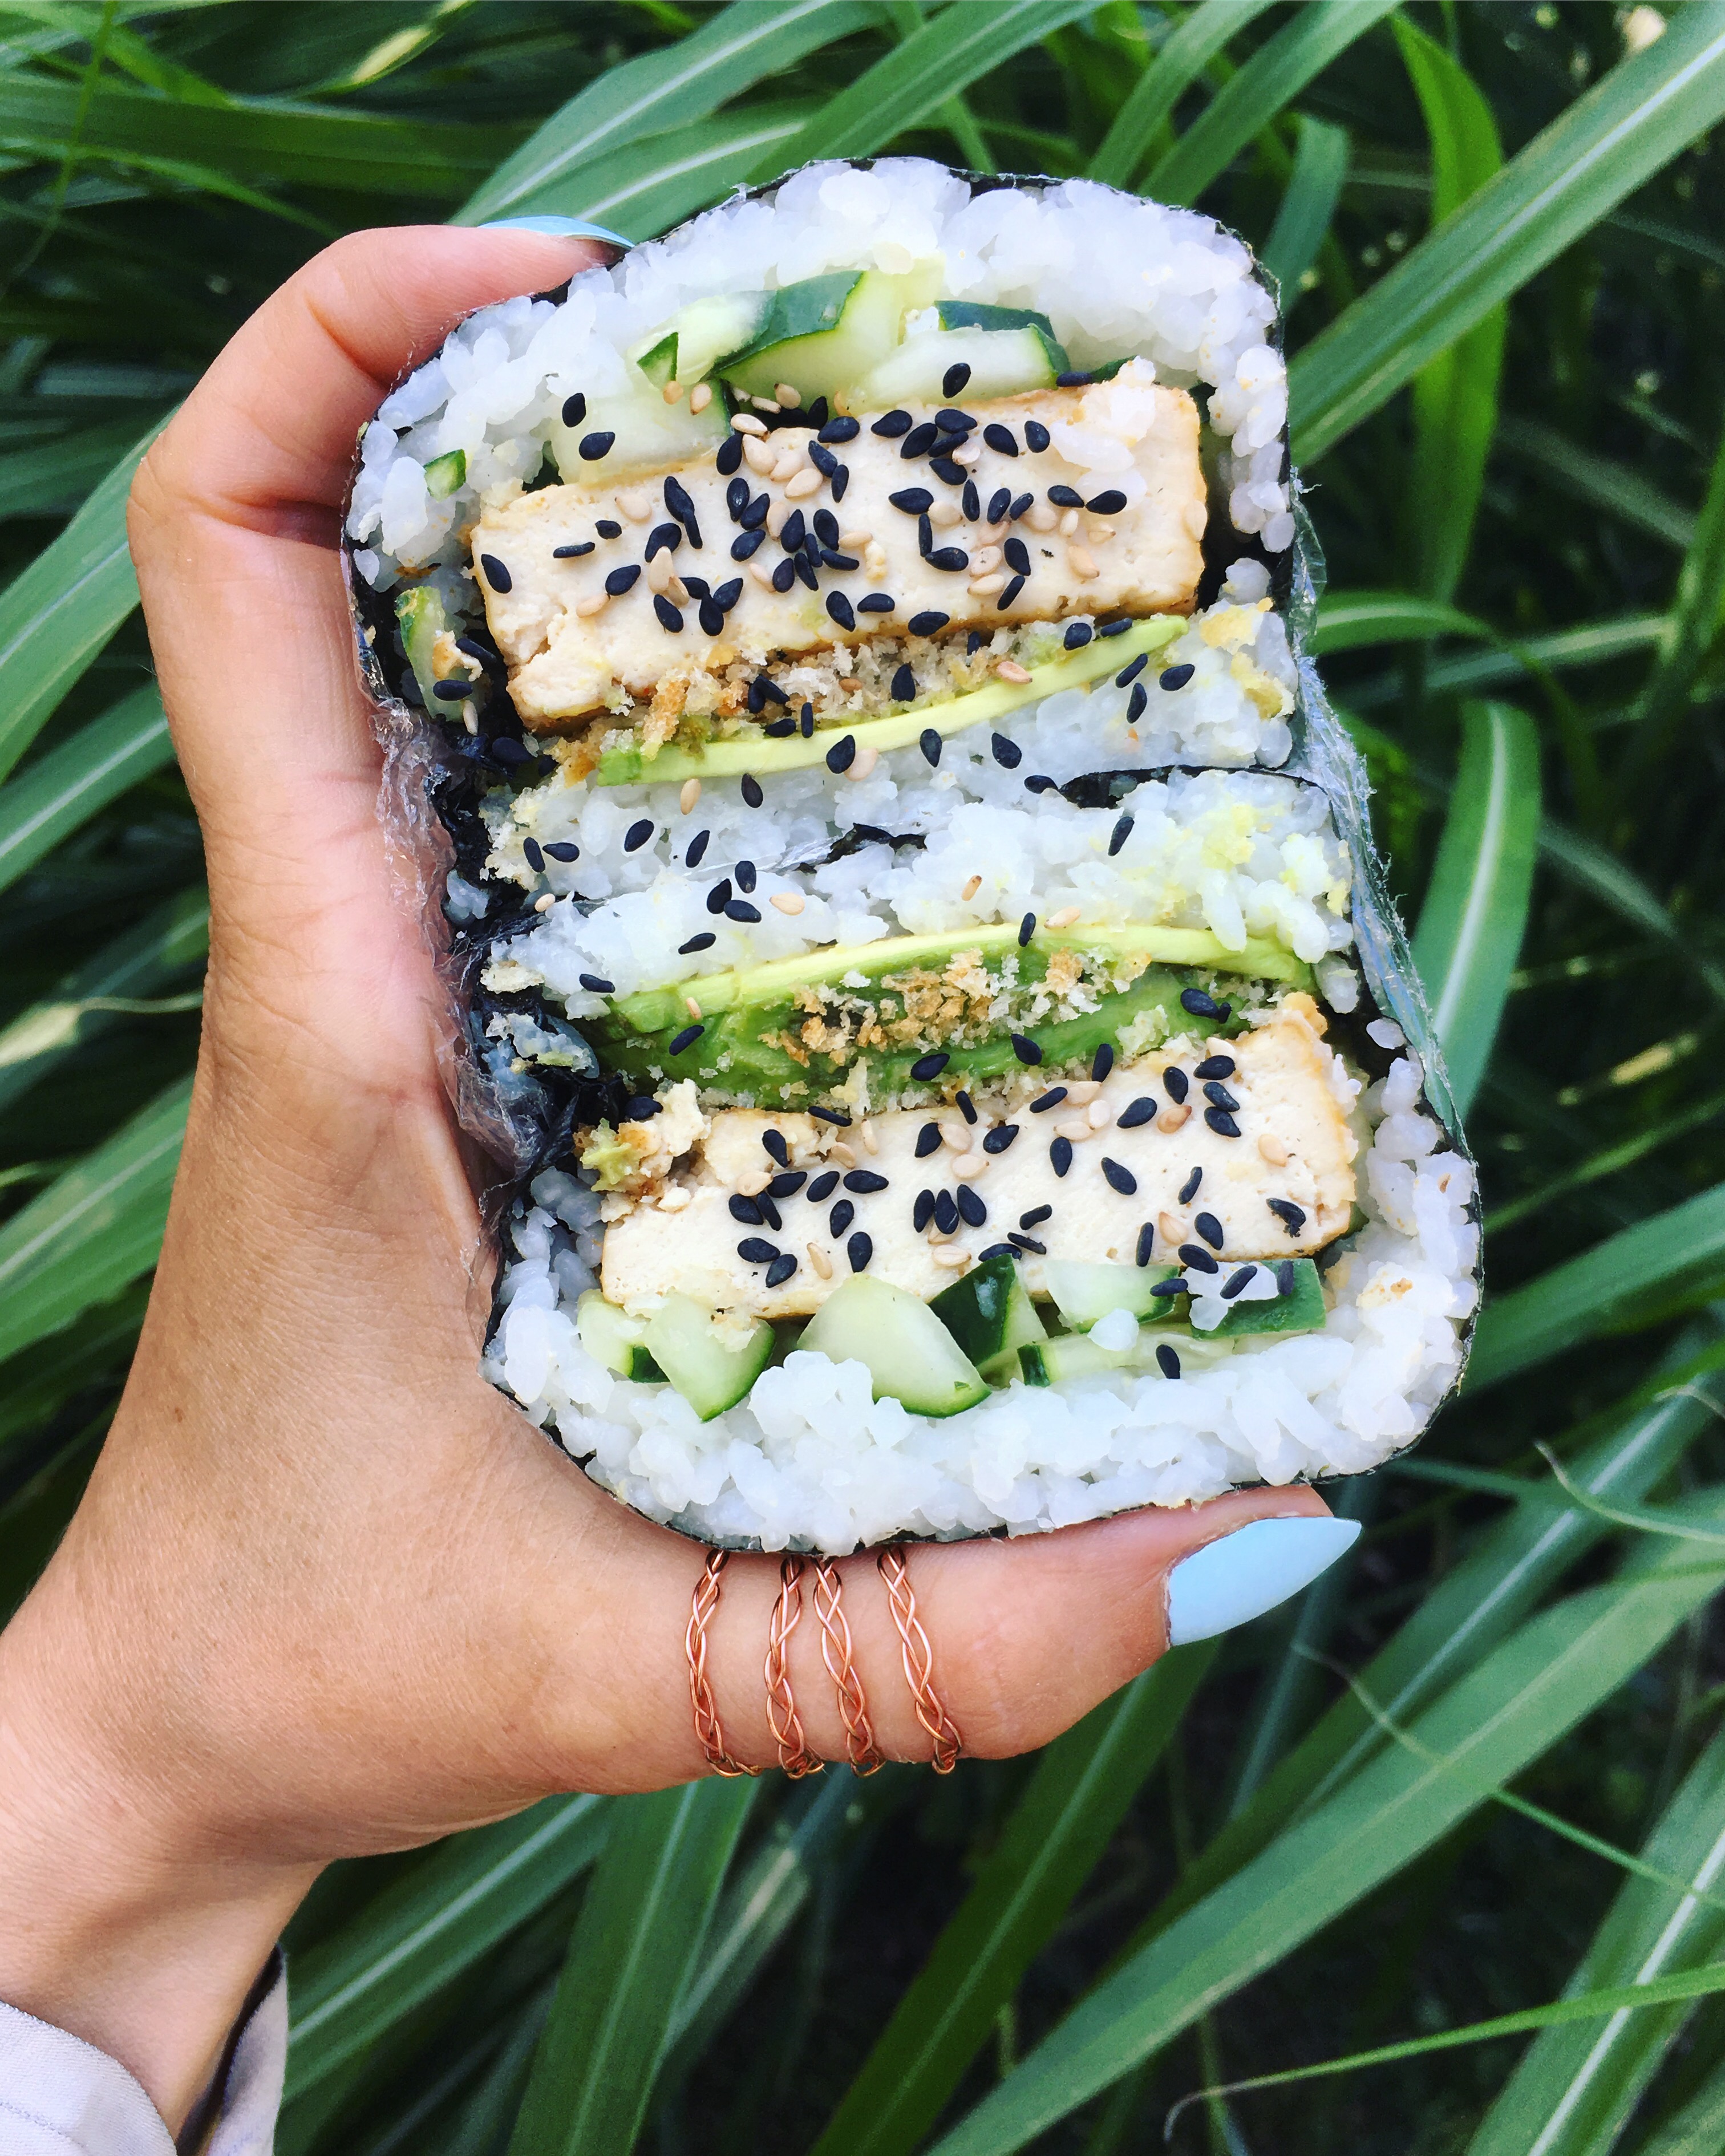
- shredded carrots & cucumbers work great. Two thumbs up.
- sliced bell peppers! Yes, yes, yes
- mango!
- tofu ANY way at all. Do it. Fried, baked, pan seared, steamed, idk, whatever you like.
- Veggie burgers! I just got a bunch from Sweet Earth Foods. I made a sushi sandwich with baby swiss chard, basil, cucumber, a teriyaki veggie burger and avocado. Depending on how big the burger is, you might have to trim it down a bit to fit.
- any greens chopped up
- scallions, chives, scapes, etc
Those are my favorites!
You really could do anything. I put one of those beyond meat burgers in one of mine once. It was pretty good. A little over the top, maybe. Just because those burgers are like really, I don’t know, *burger-y*, you know what I mean?! They’re like meat-y and BIG. 😂
(I feel like I’m really dragging this out, am I?!)

So you’re gonna need saran wrap for this one, don’t think I mentioned that above. If you’re a no-waste, trash free kinda person, I’m sorry about that – you can try without it – but I can’t promise you’ll have the easiest time slicing it. I’ve never tried slicing it, or storing it for eating later, without the plastic wrap. I’m a pretty low-waste person myself, but this is one thing that I do use the plastic wrap for.
Have a kitchen towel nearby, a small bowl filled with lukewarm water to dip your hands in, your sushi rice, and all your sushi filling ingredients ready to go.
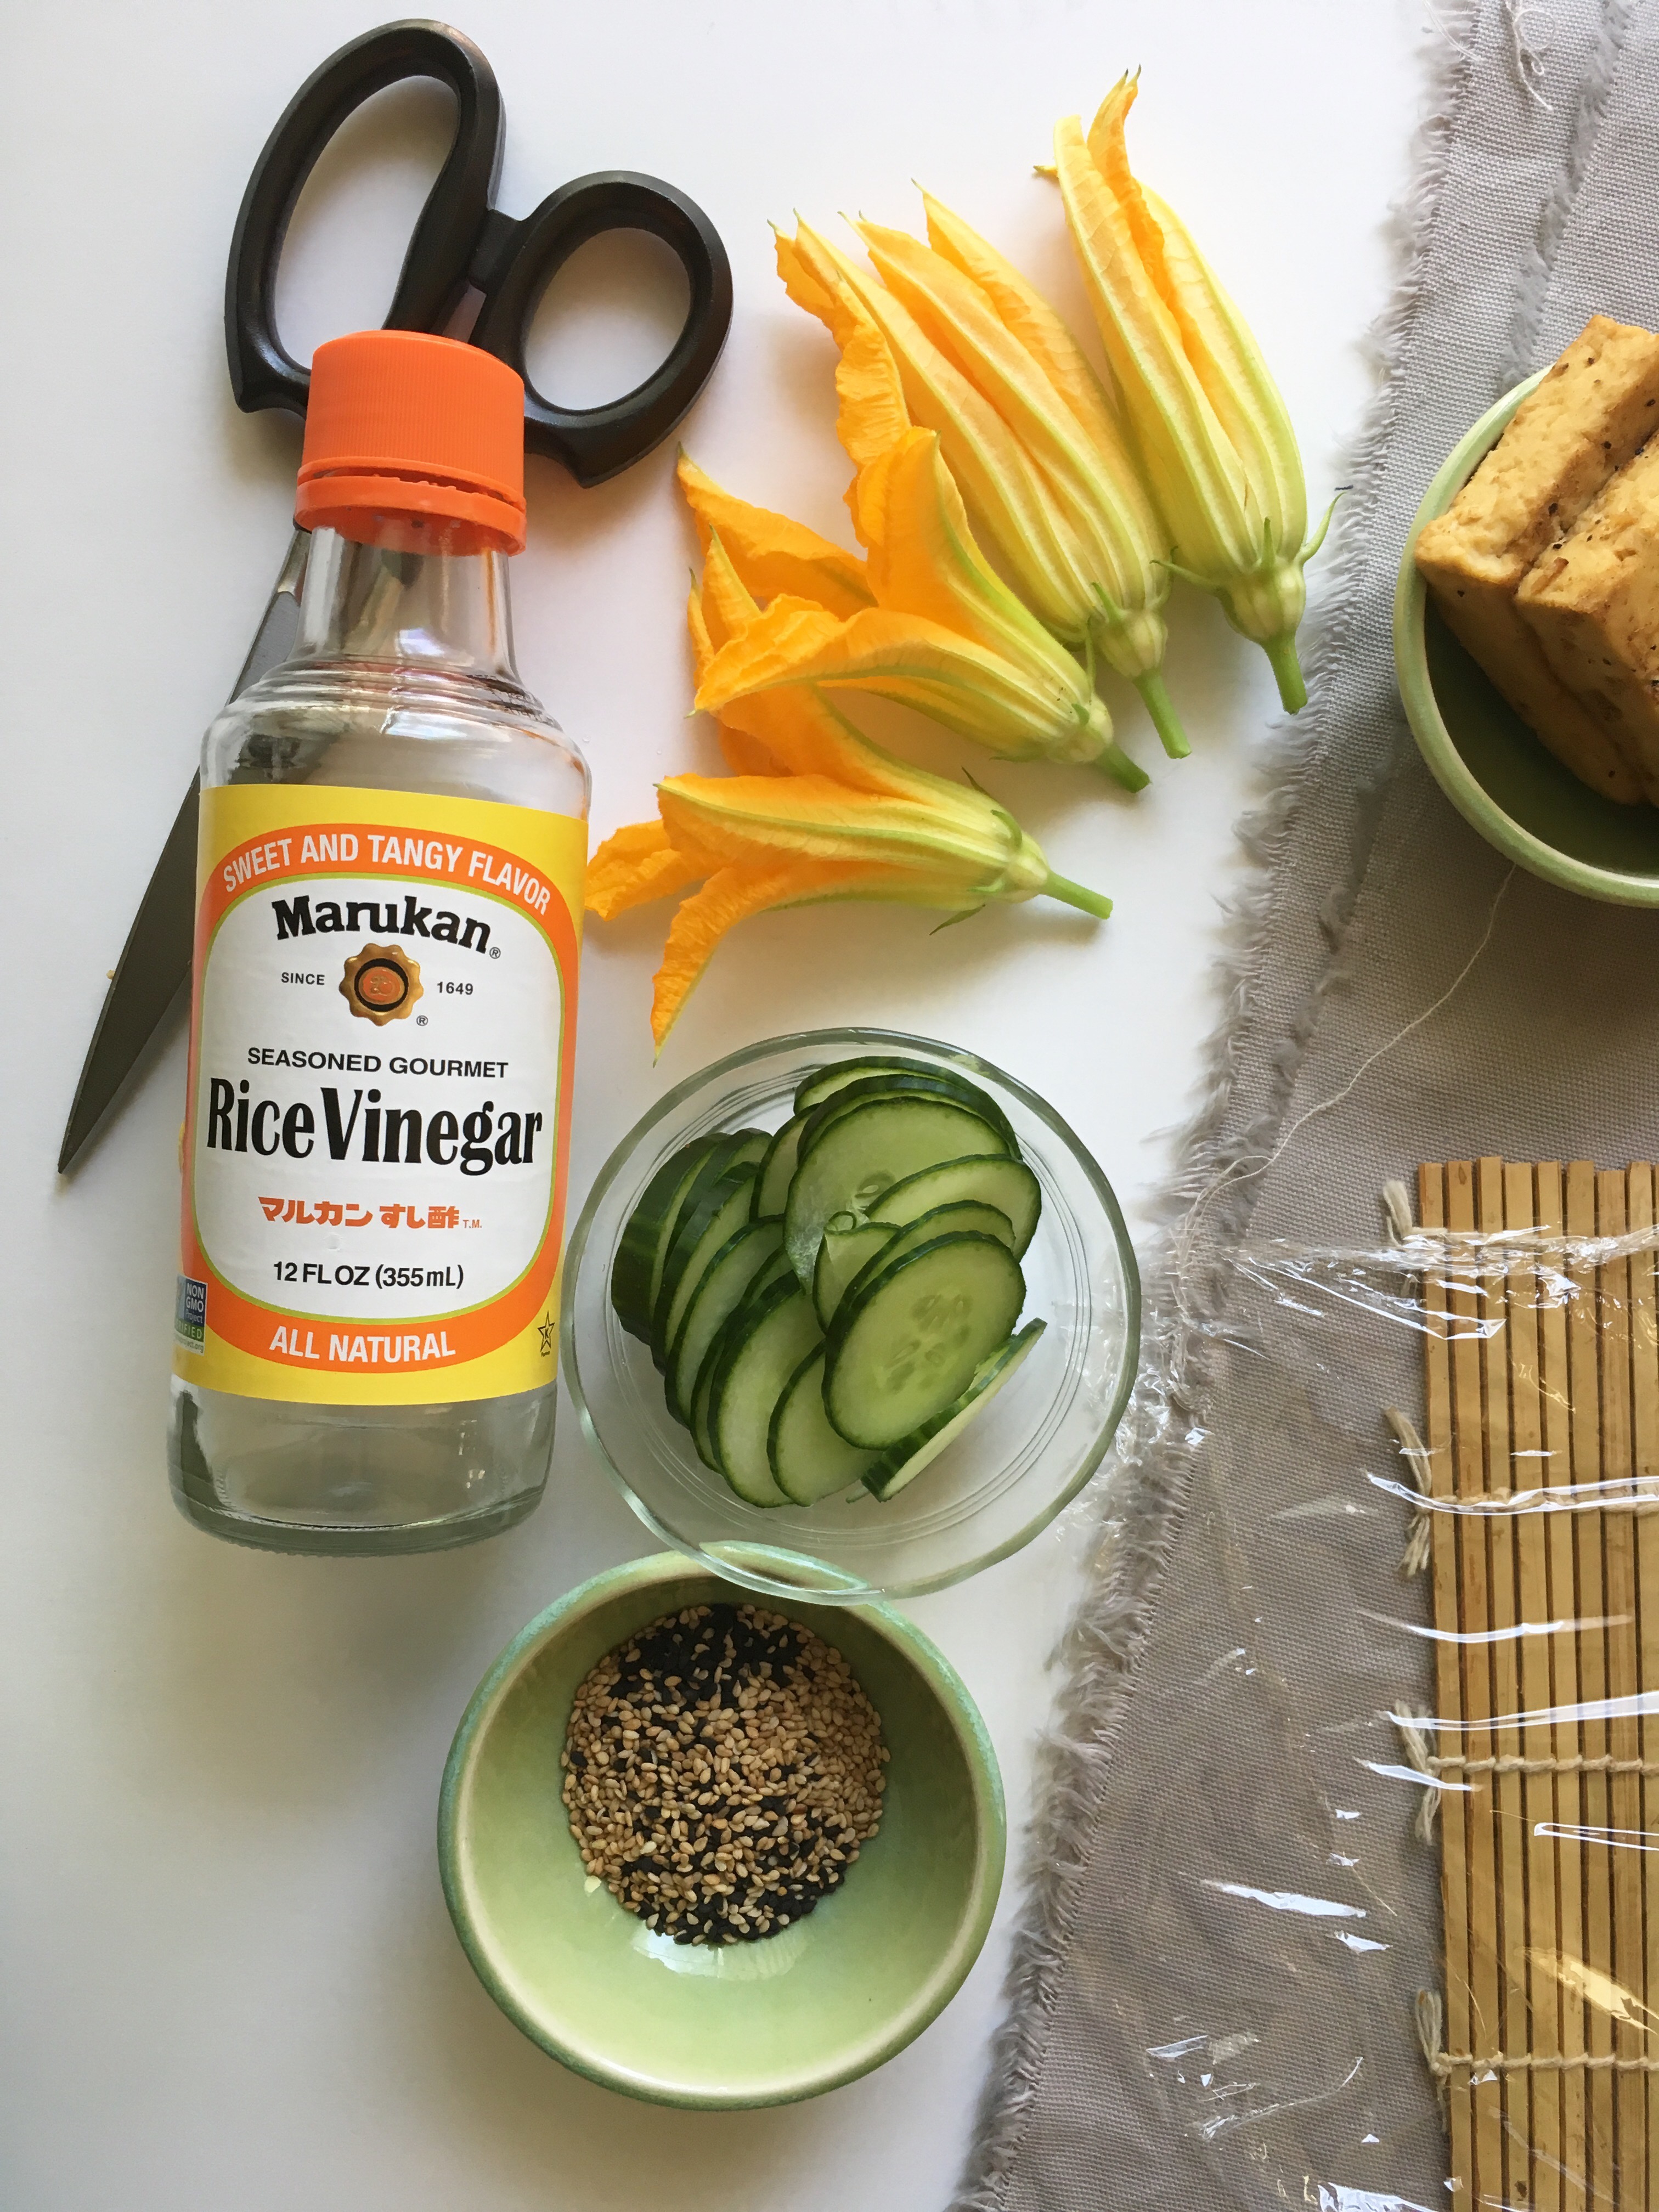
Lay down one square foot of plastic wrap on a clean, flat surface. On top of that, lay down one sheet of nori, shiny side down (like always when you’re making sushi). No, you don’t need that bamboo sushi mat I have down there; I just used it for aesthetics.
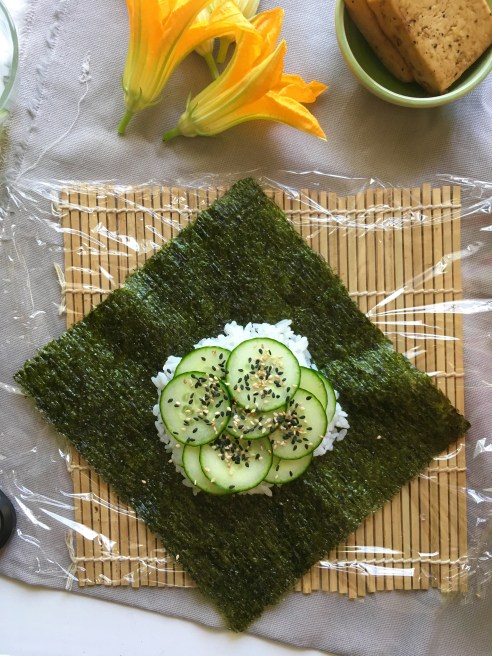
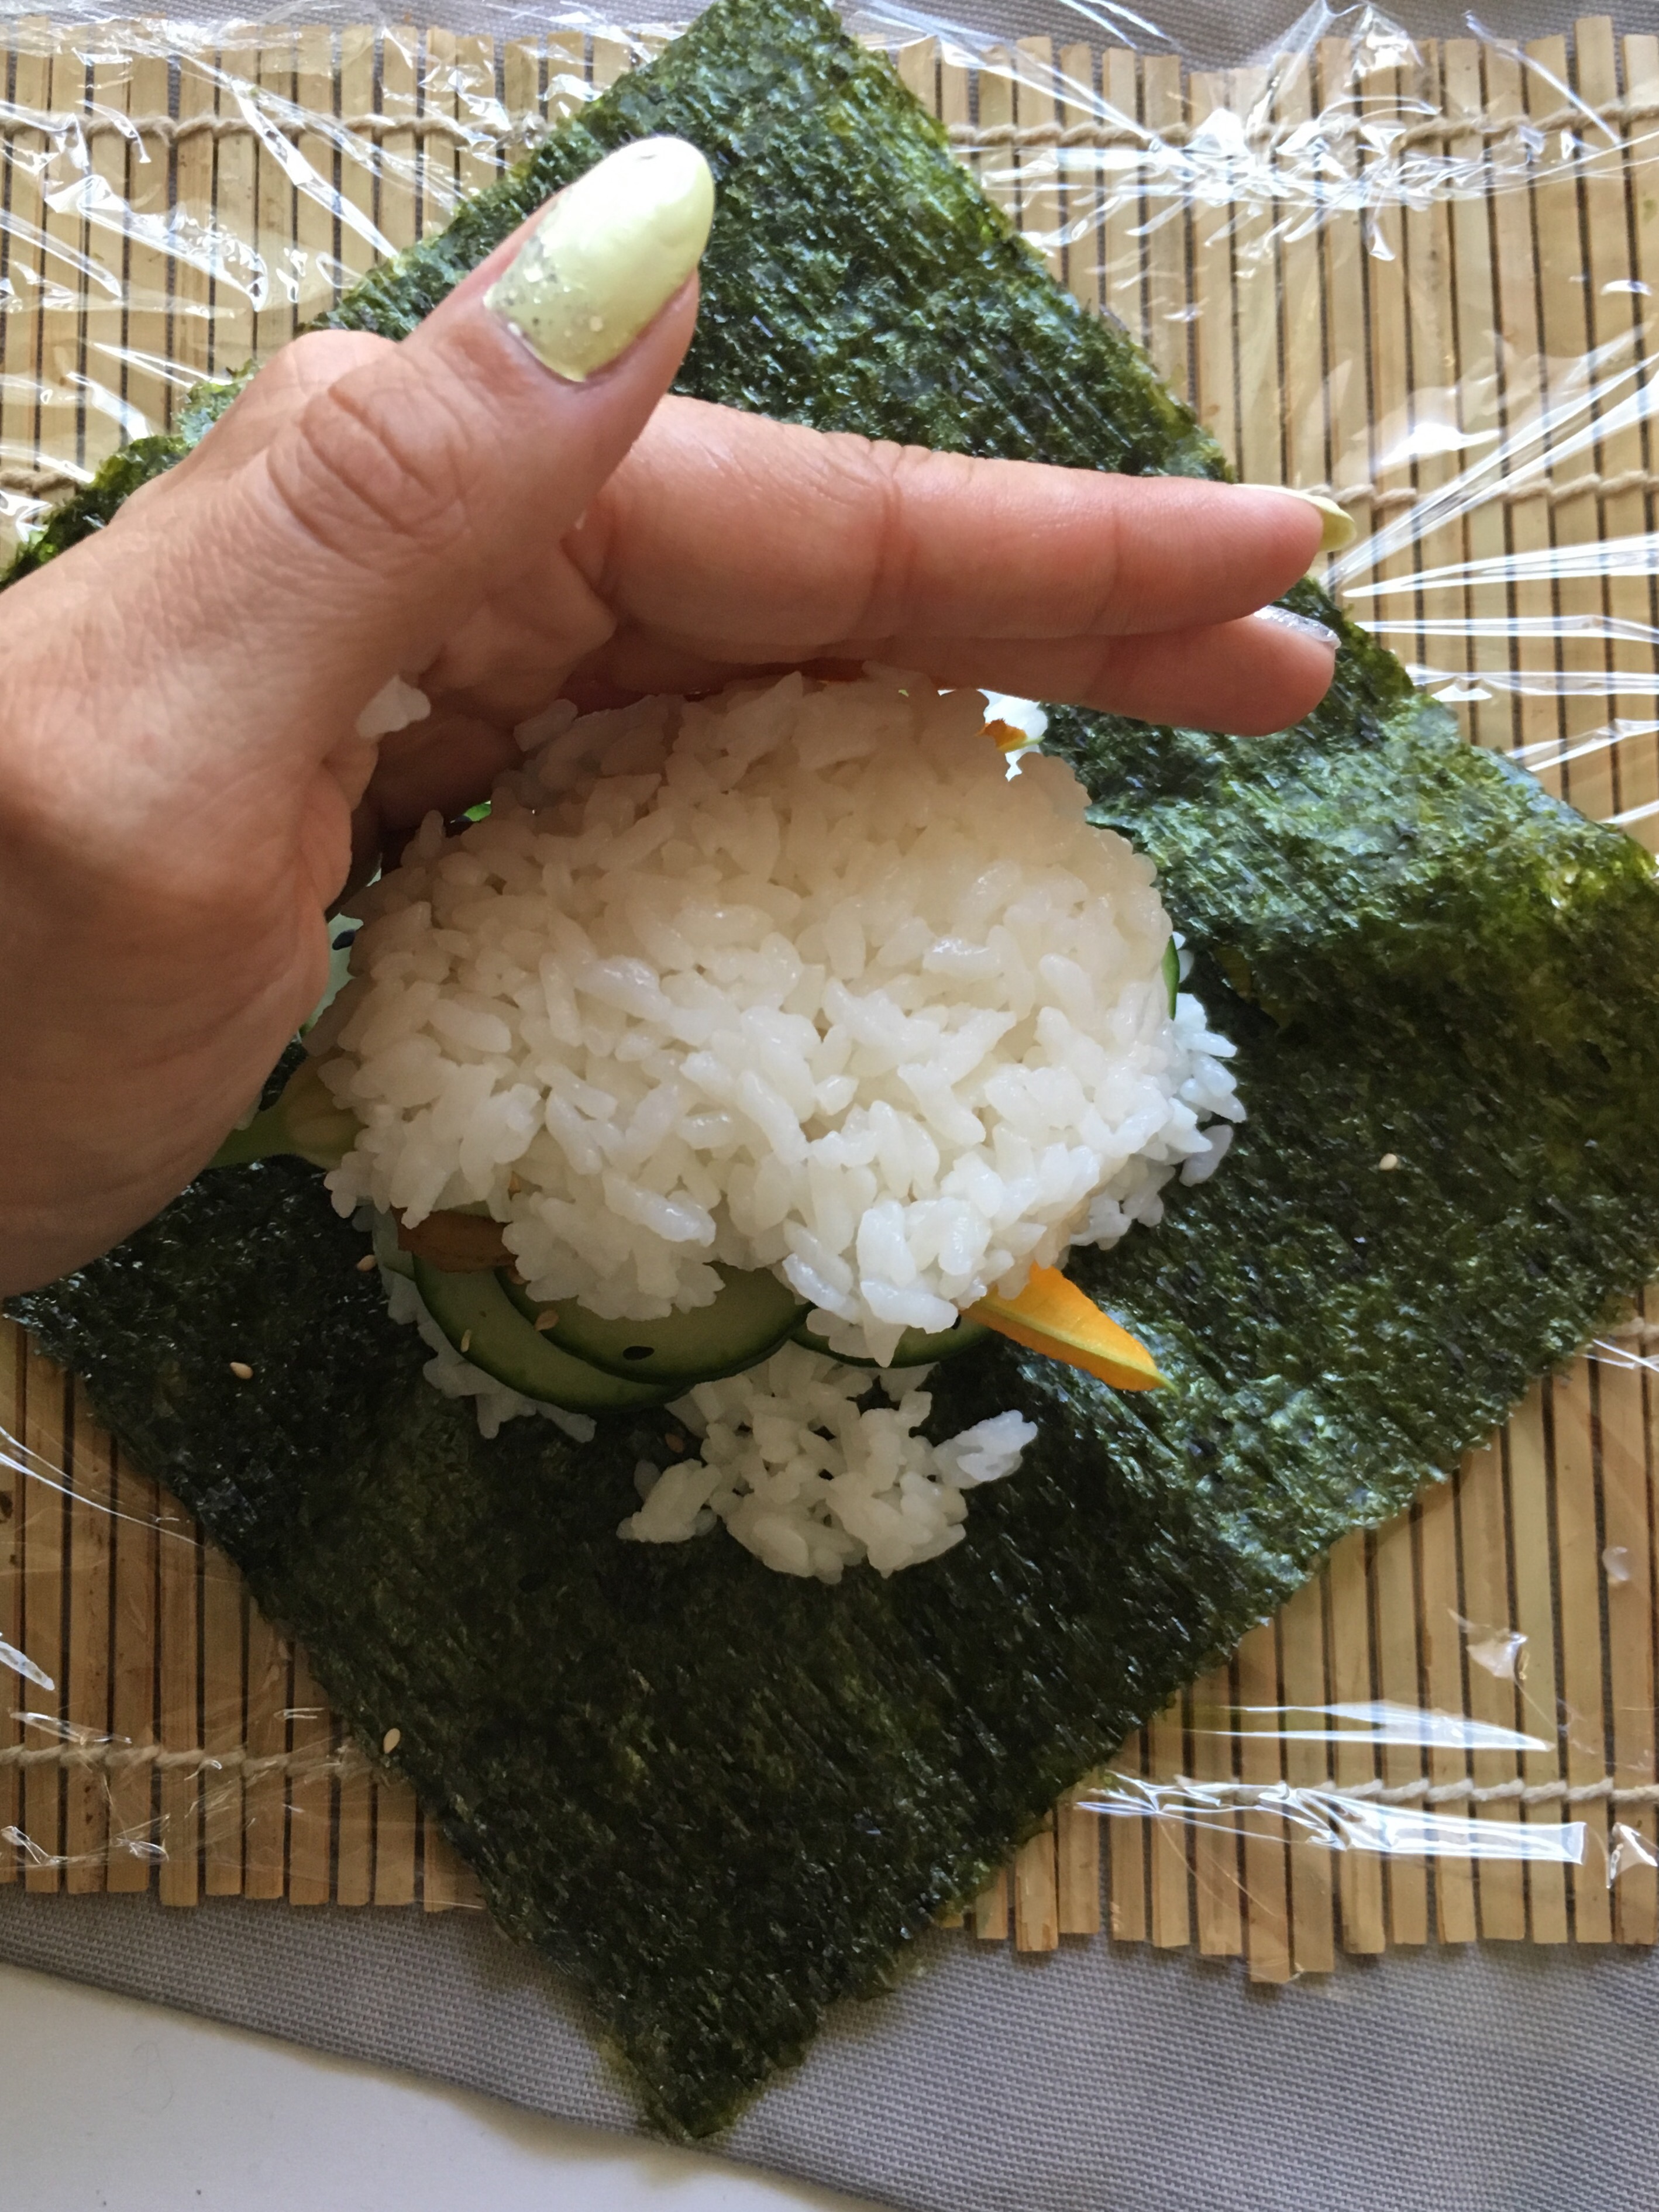
Now wet your hands (important! like really dip them in there good because the rice will stick to them if they aren’t wet). Then scoop out a handful of rice and press it into the center of the nori into a circle shape. Flatten it out.

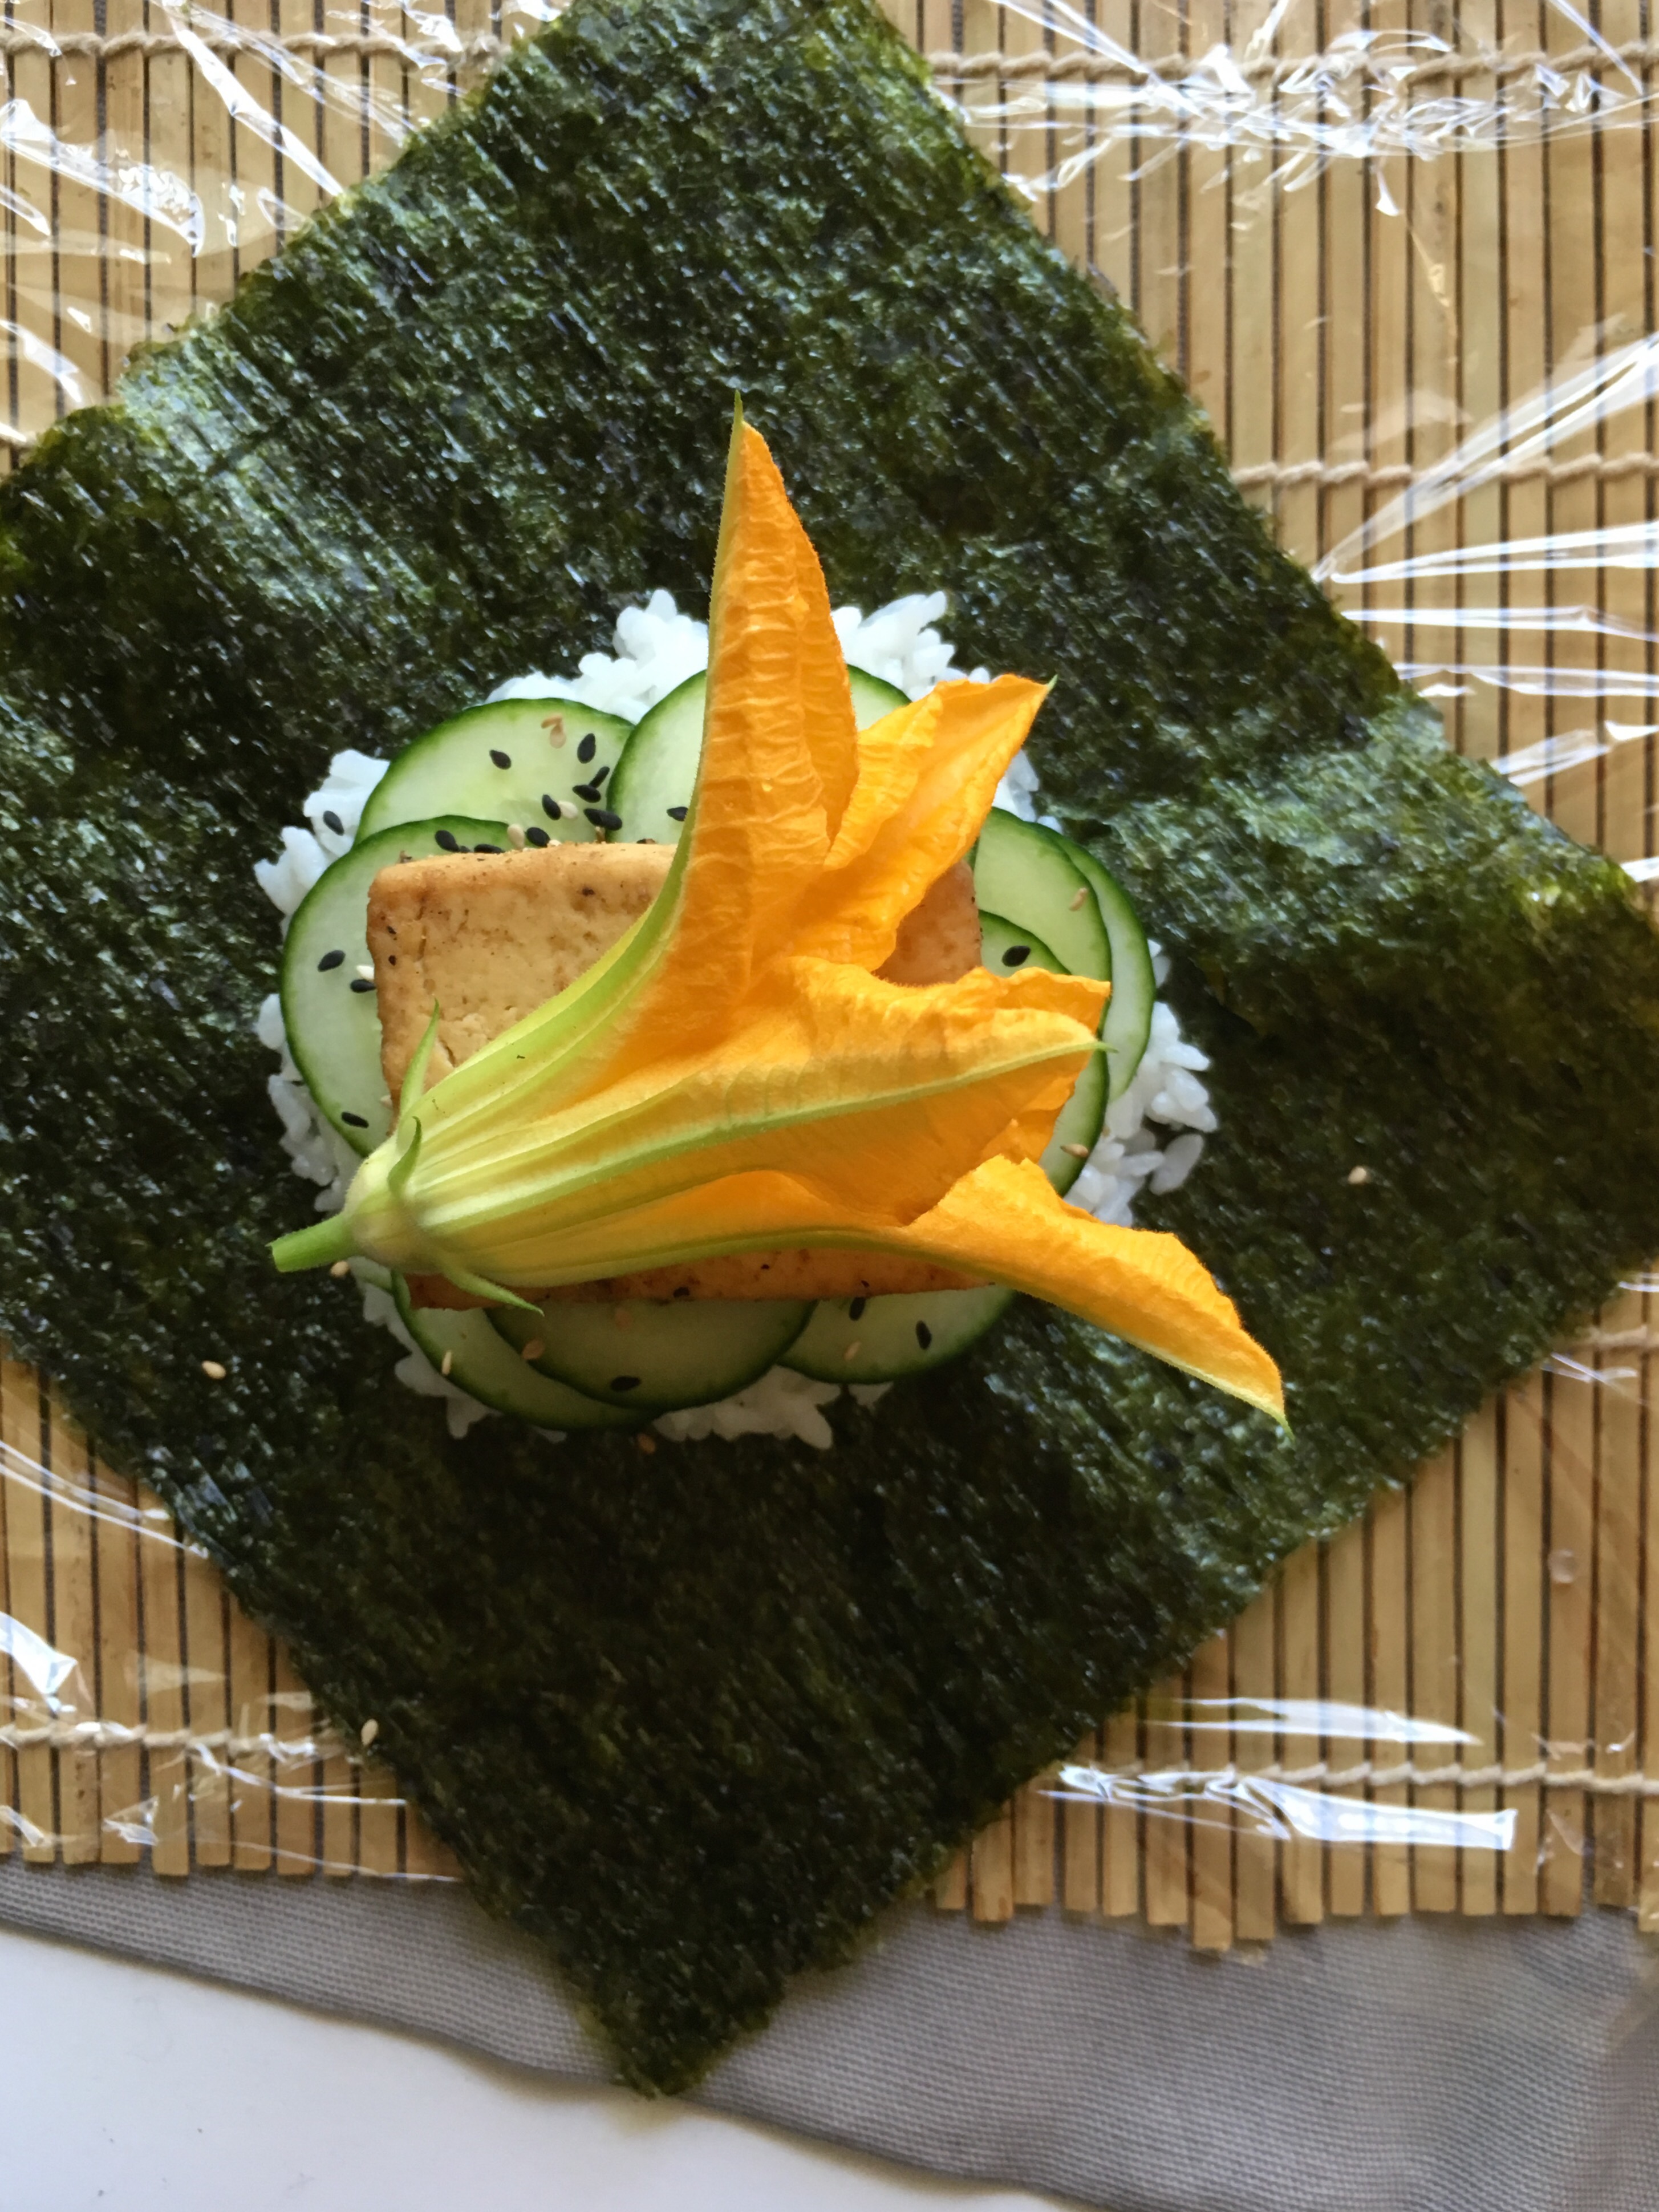
Now start layering heavier things on the bottom, like veggie burgers or tofu if you’re using that. If you’re just using strictly veggies, go with whatever order you want.
I like to put rice on top as well, although you don’t have to do this. I think it makes it look a bit neater.
This can be a bit tricky, but again just make sure your hands are wet. Scoop out a palm full of rice and flatten it out enough to cover the top layer of your veggies.


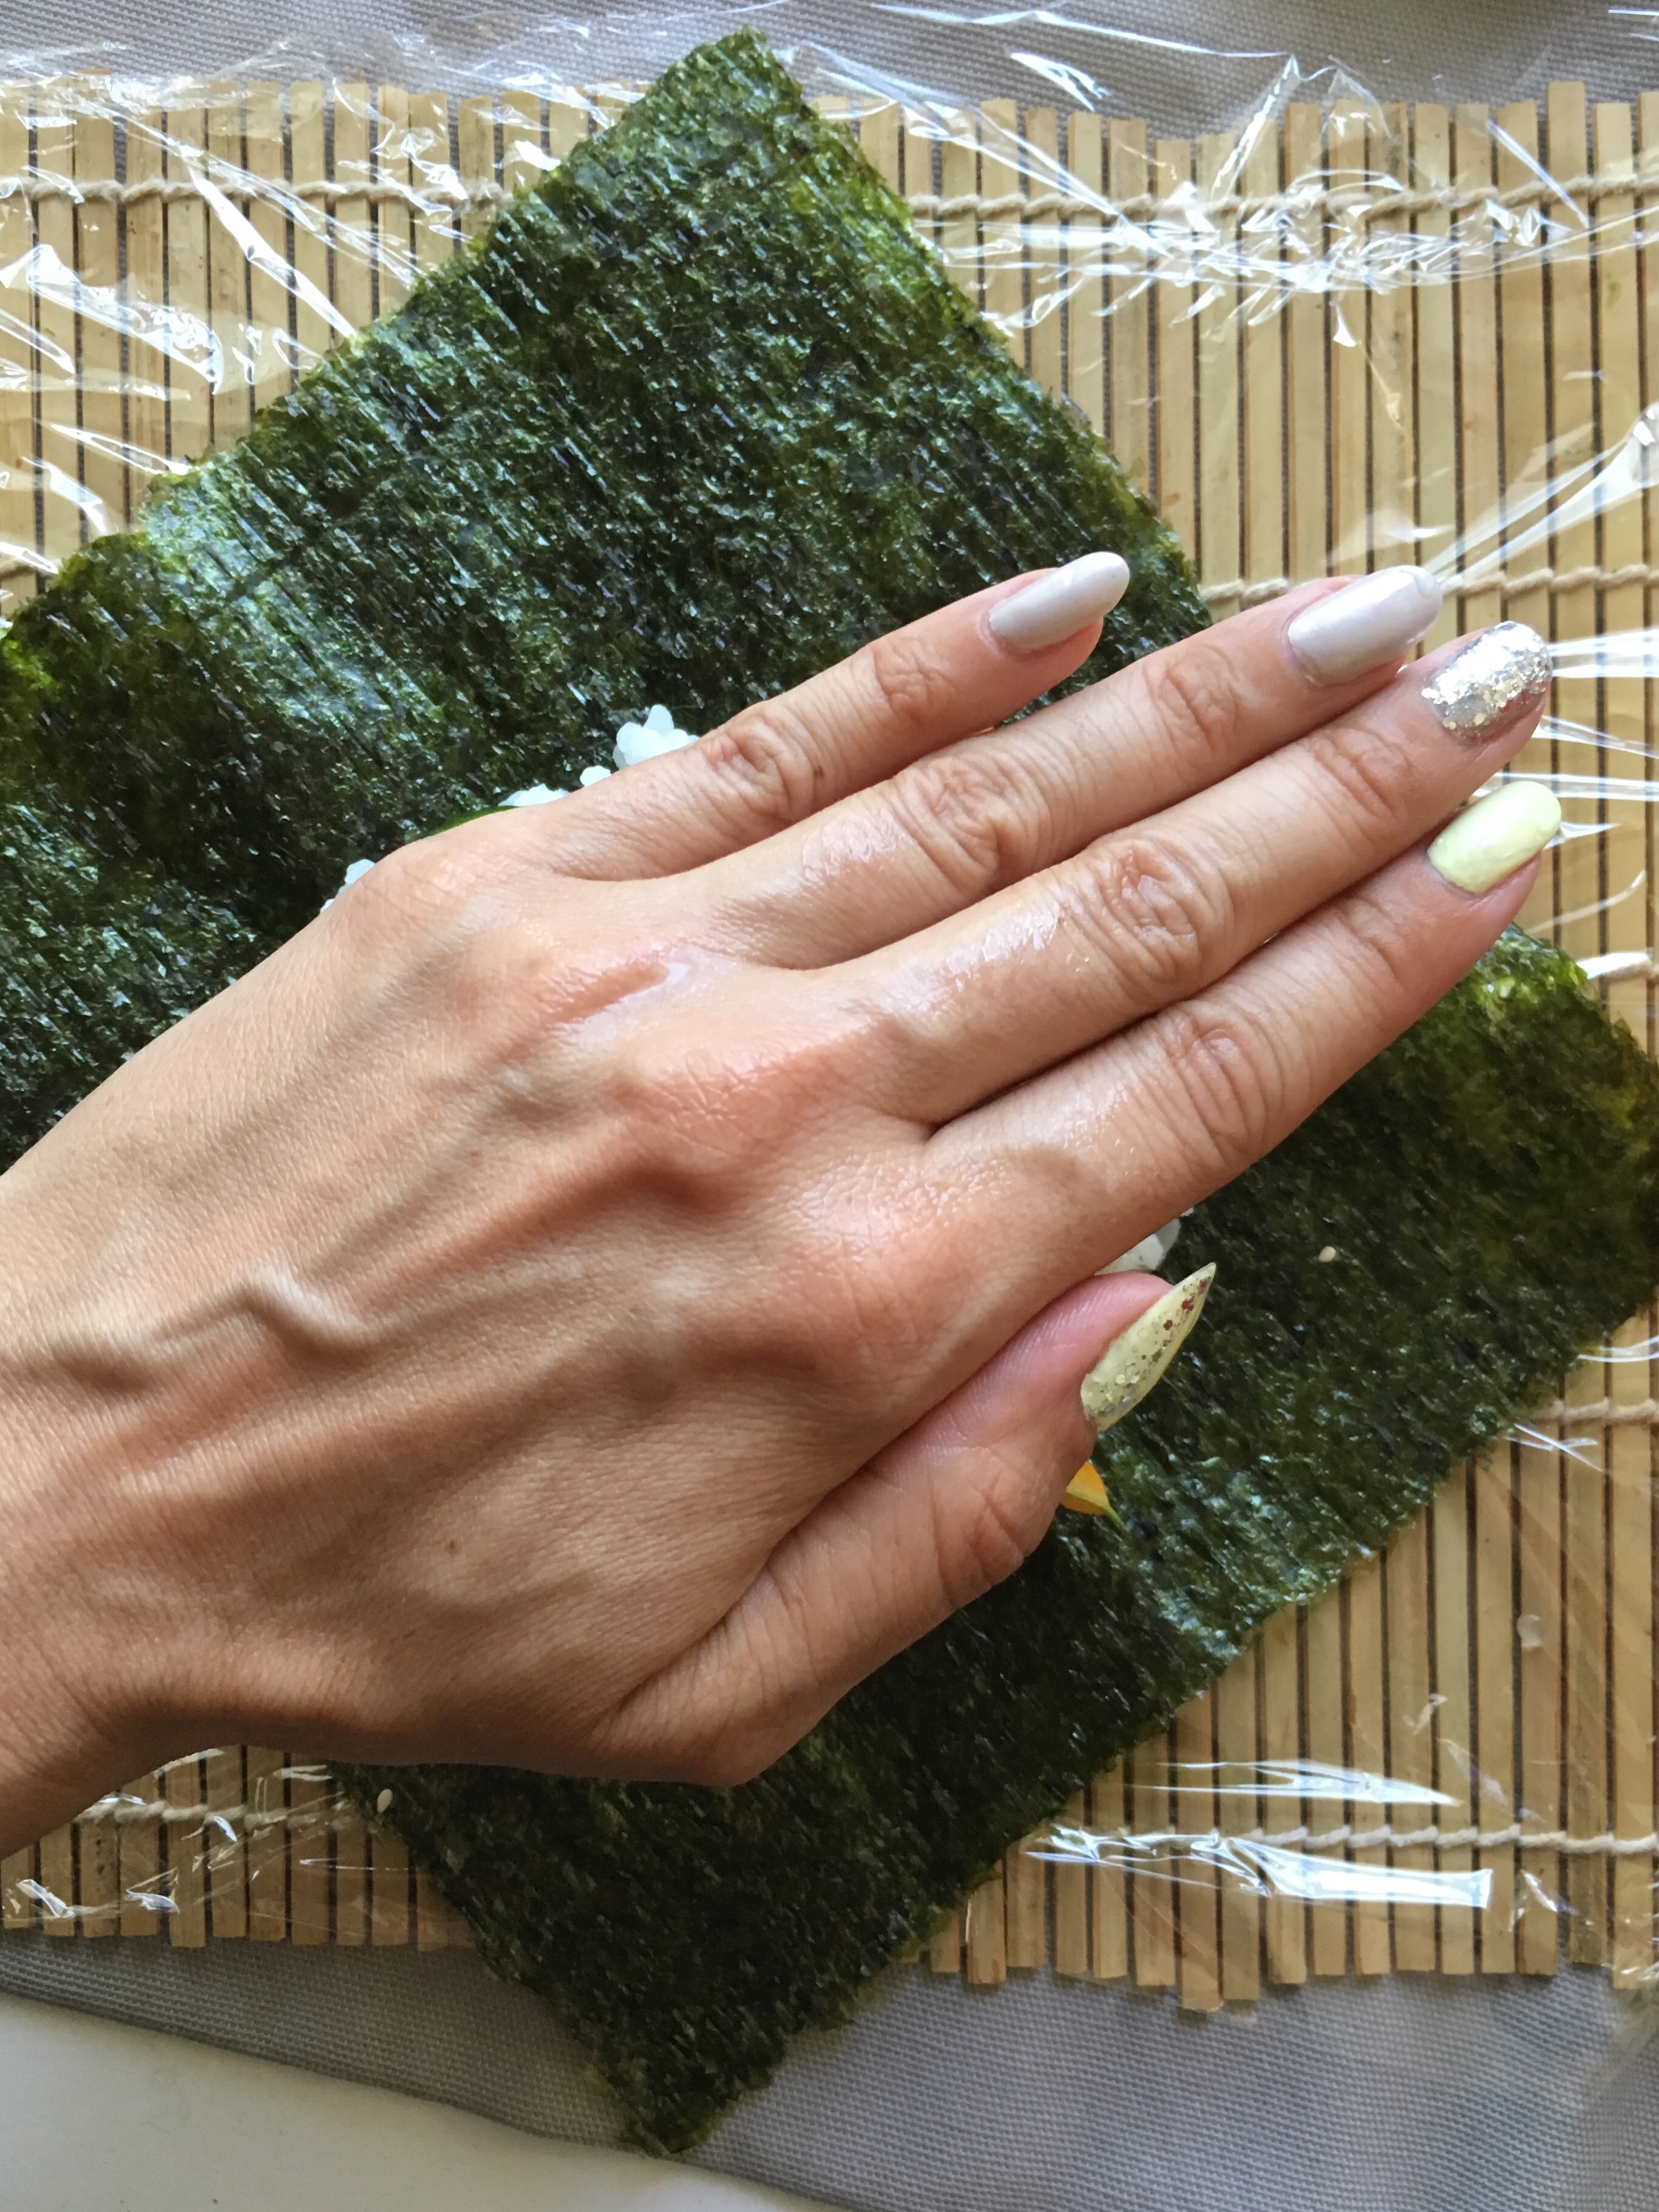
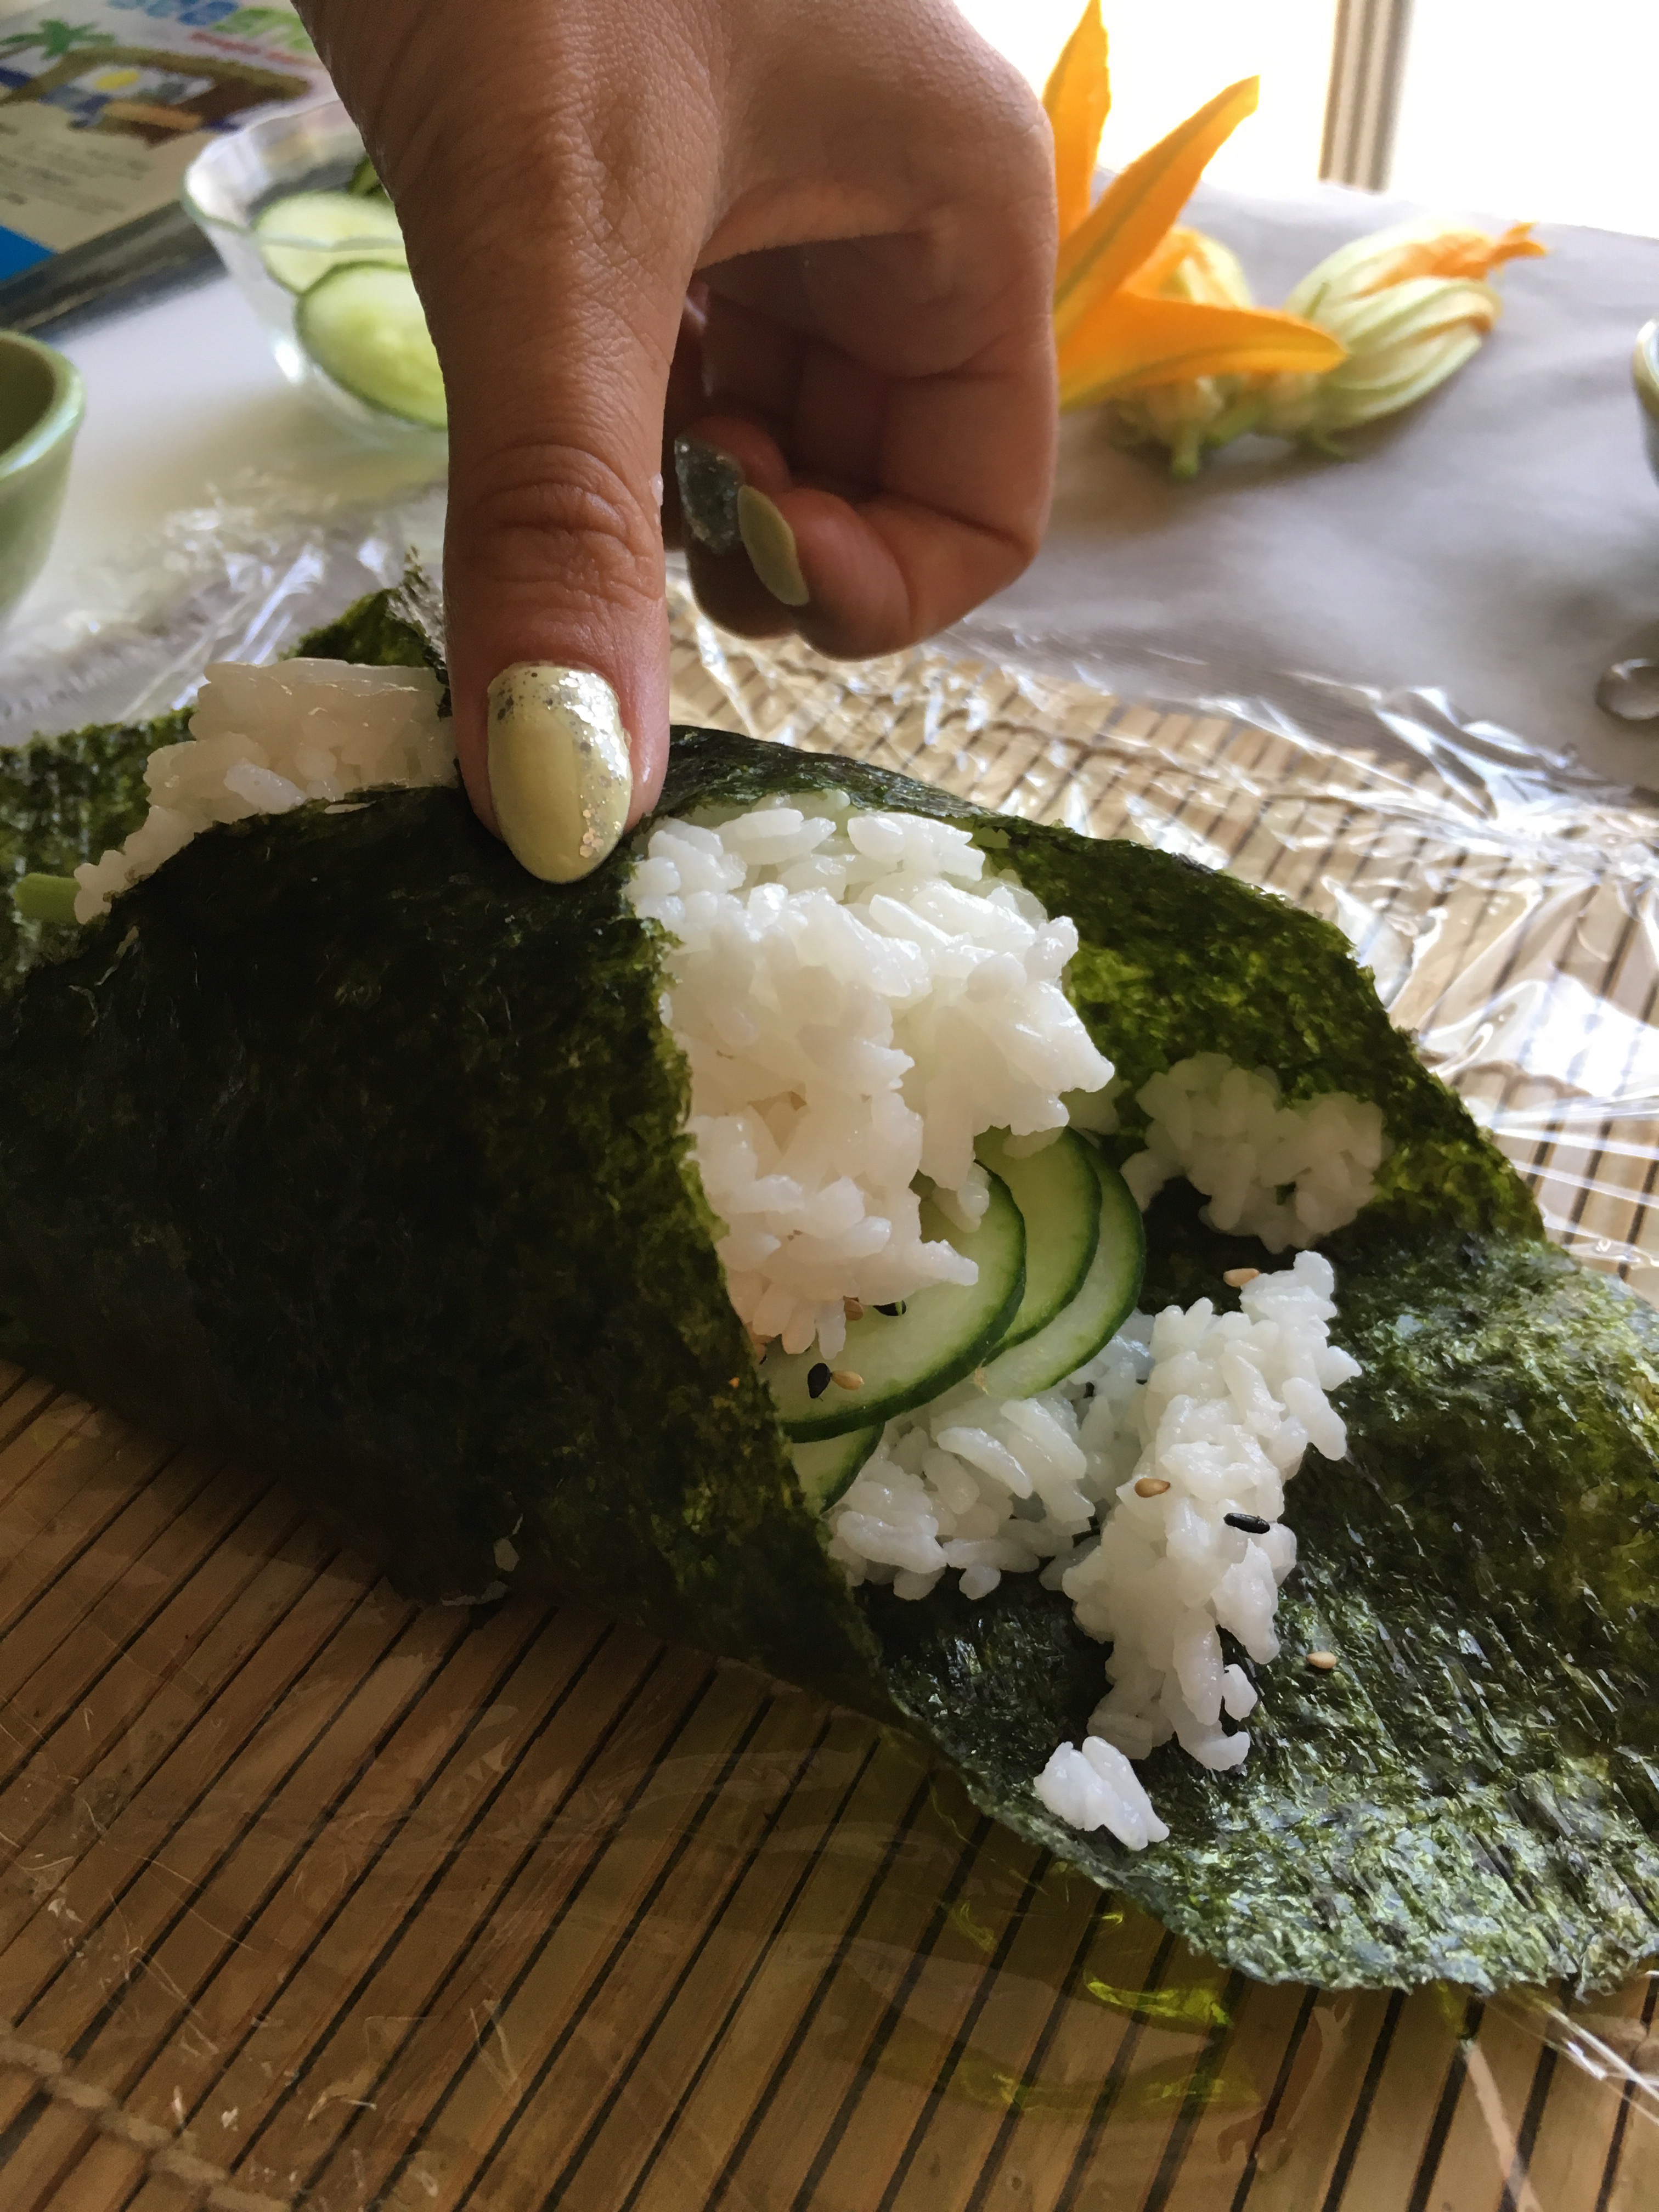
Flip it over and press it down gently on top.
Move to the next step quickly because you’ve just put a hefty load on top of your filling and it won’t stay balanced for long. 🙂
Begin to pull up corners of the nori, starting with two opposite each other first. Then pull the other two corners to meet together at close as possible, without pulling too tight that you feel like you’ll rip the nori.


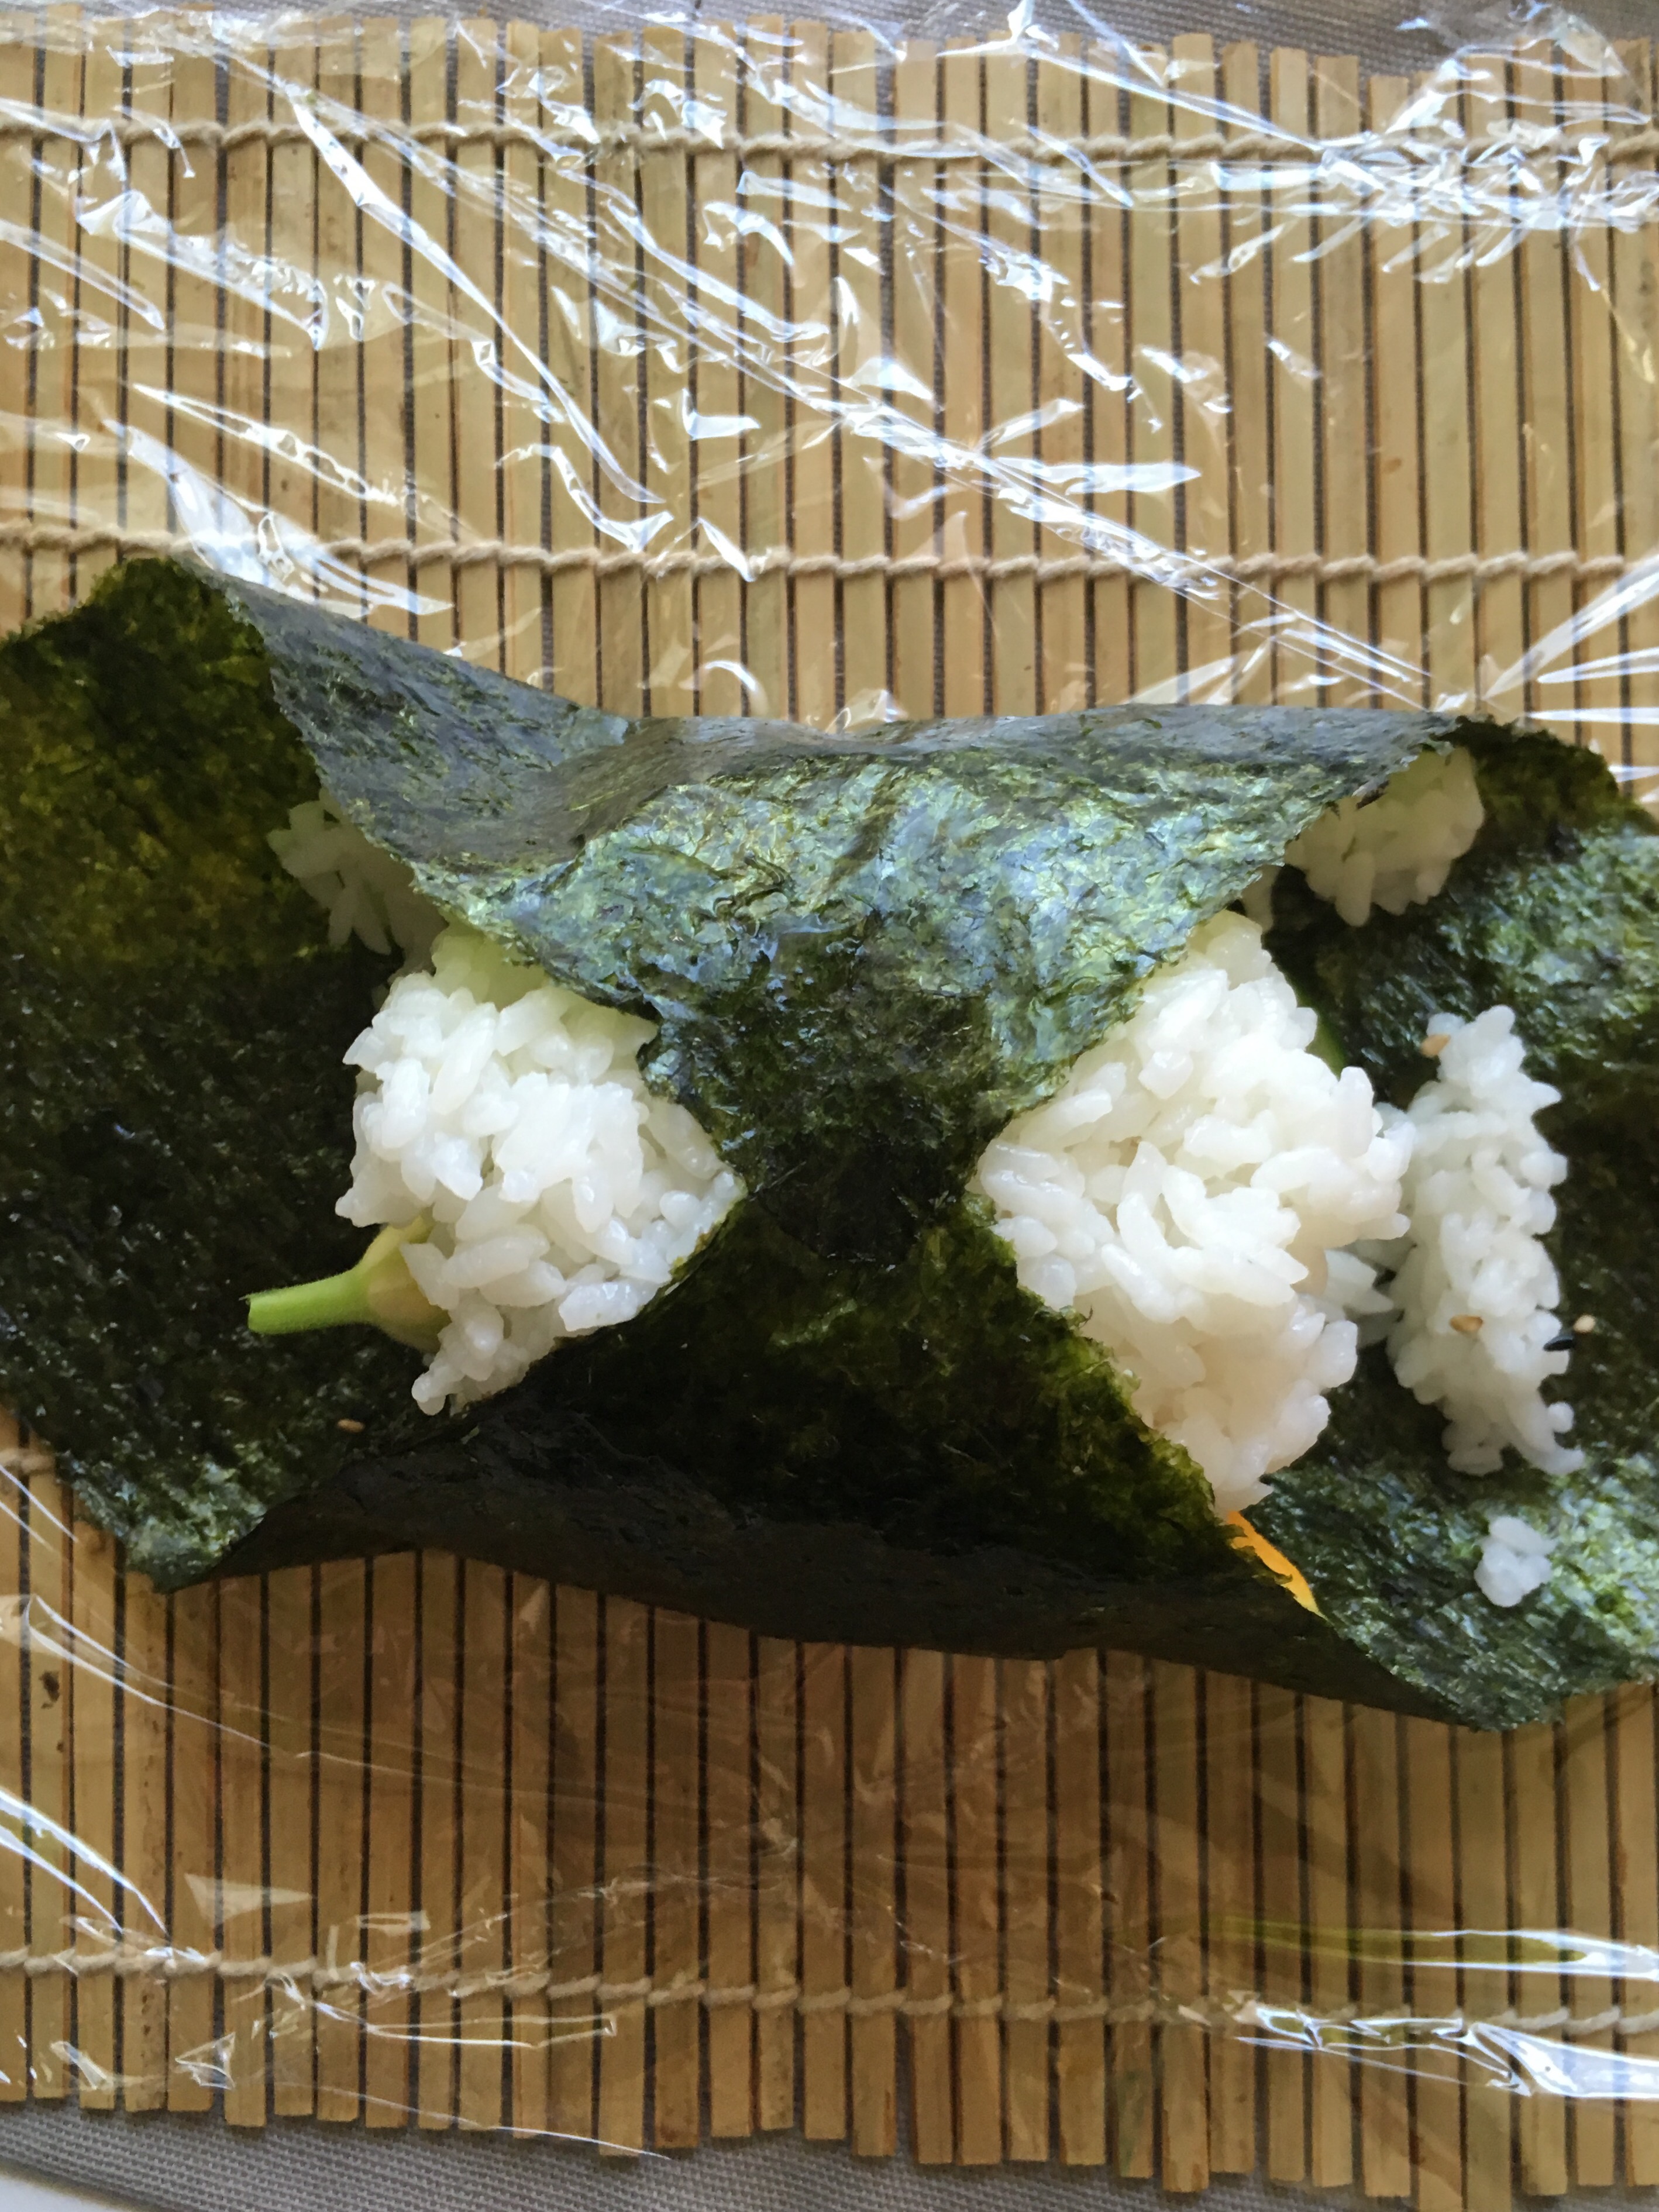
If you’ve packed your onigirazu too full (it happens) you can always do your best with one sheet, and use another sheet of nori as reinforcement. [tuck the corners up as tightly as you can, and flip the whole sandwich over onto a new piece of nori and do the corner folding thing again. Make sure you have a piece of plastic wrap underneath.]
The plastic wrap helps to soften the nori. I’m sure you’ll realize if your nori isn’t super fresh (not a problem with the SeaSnax!) it feels a bit flaky or crunchy as you’re folding it, right?…wondering how the heck it’s going to wrap around and stay so neatly…giving it some time wrapped in the plastic will 100% soften it up. The moisture from the rice and whatever veggies you use will transfer to the nori right away.

Wrap the plastic around the sandwich, like the way you would wrap a deli sandwich…or a bagel…can’t think of much else that you would wrap tightly in plastic, lol.
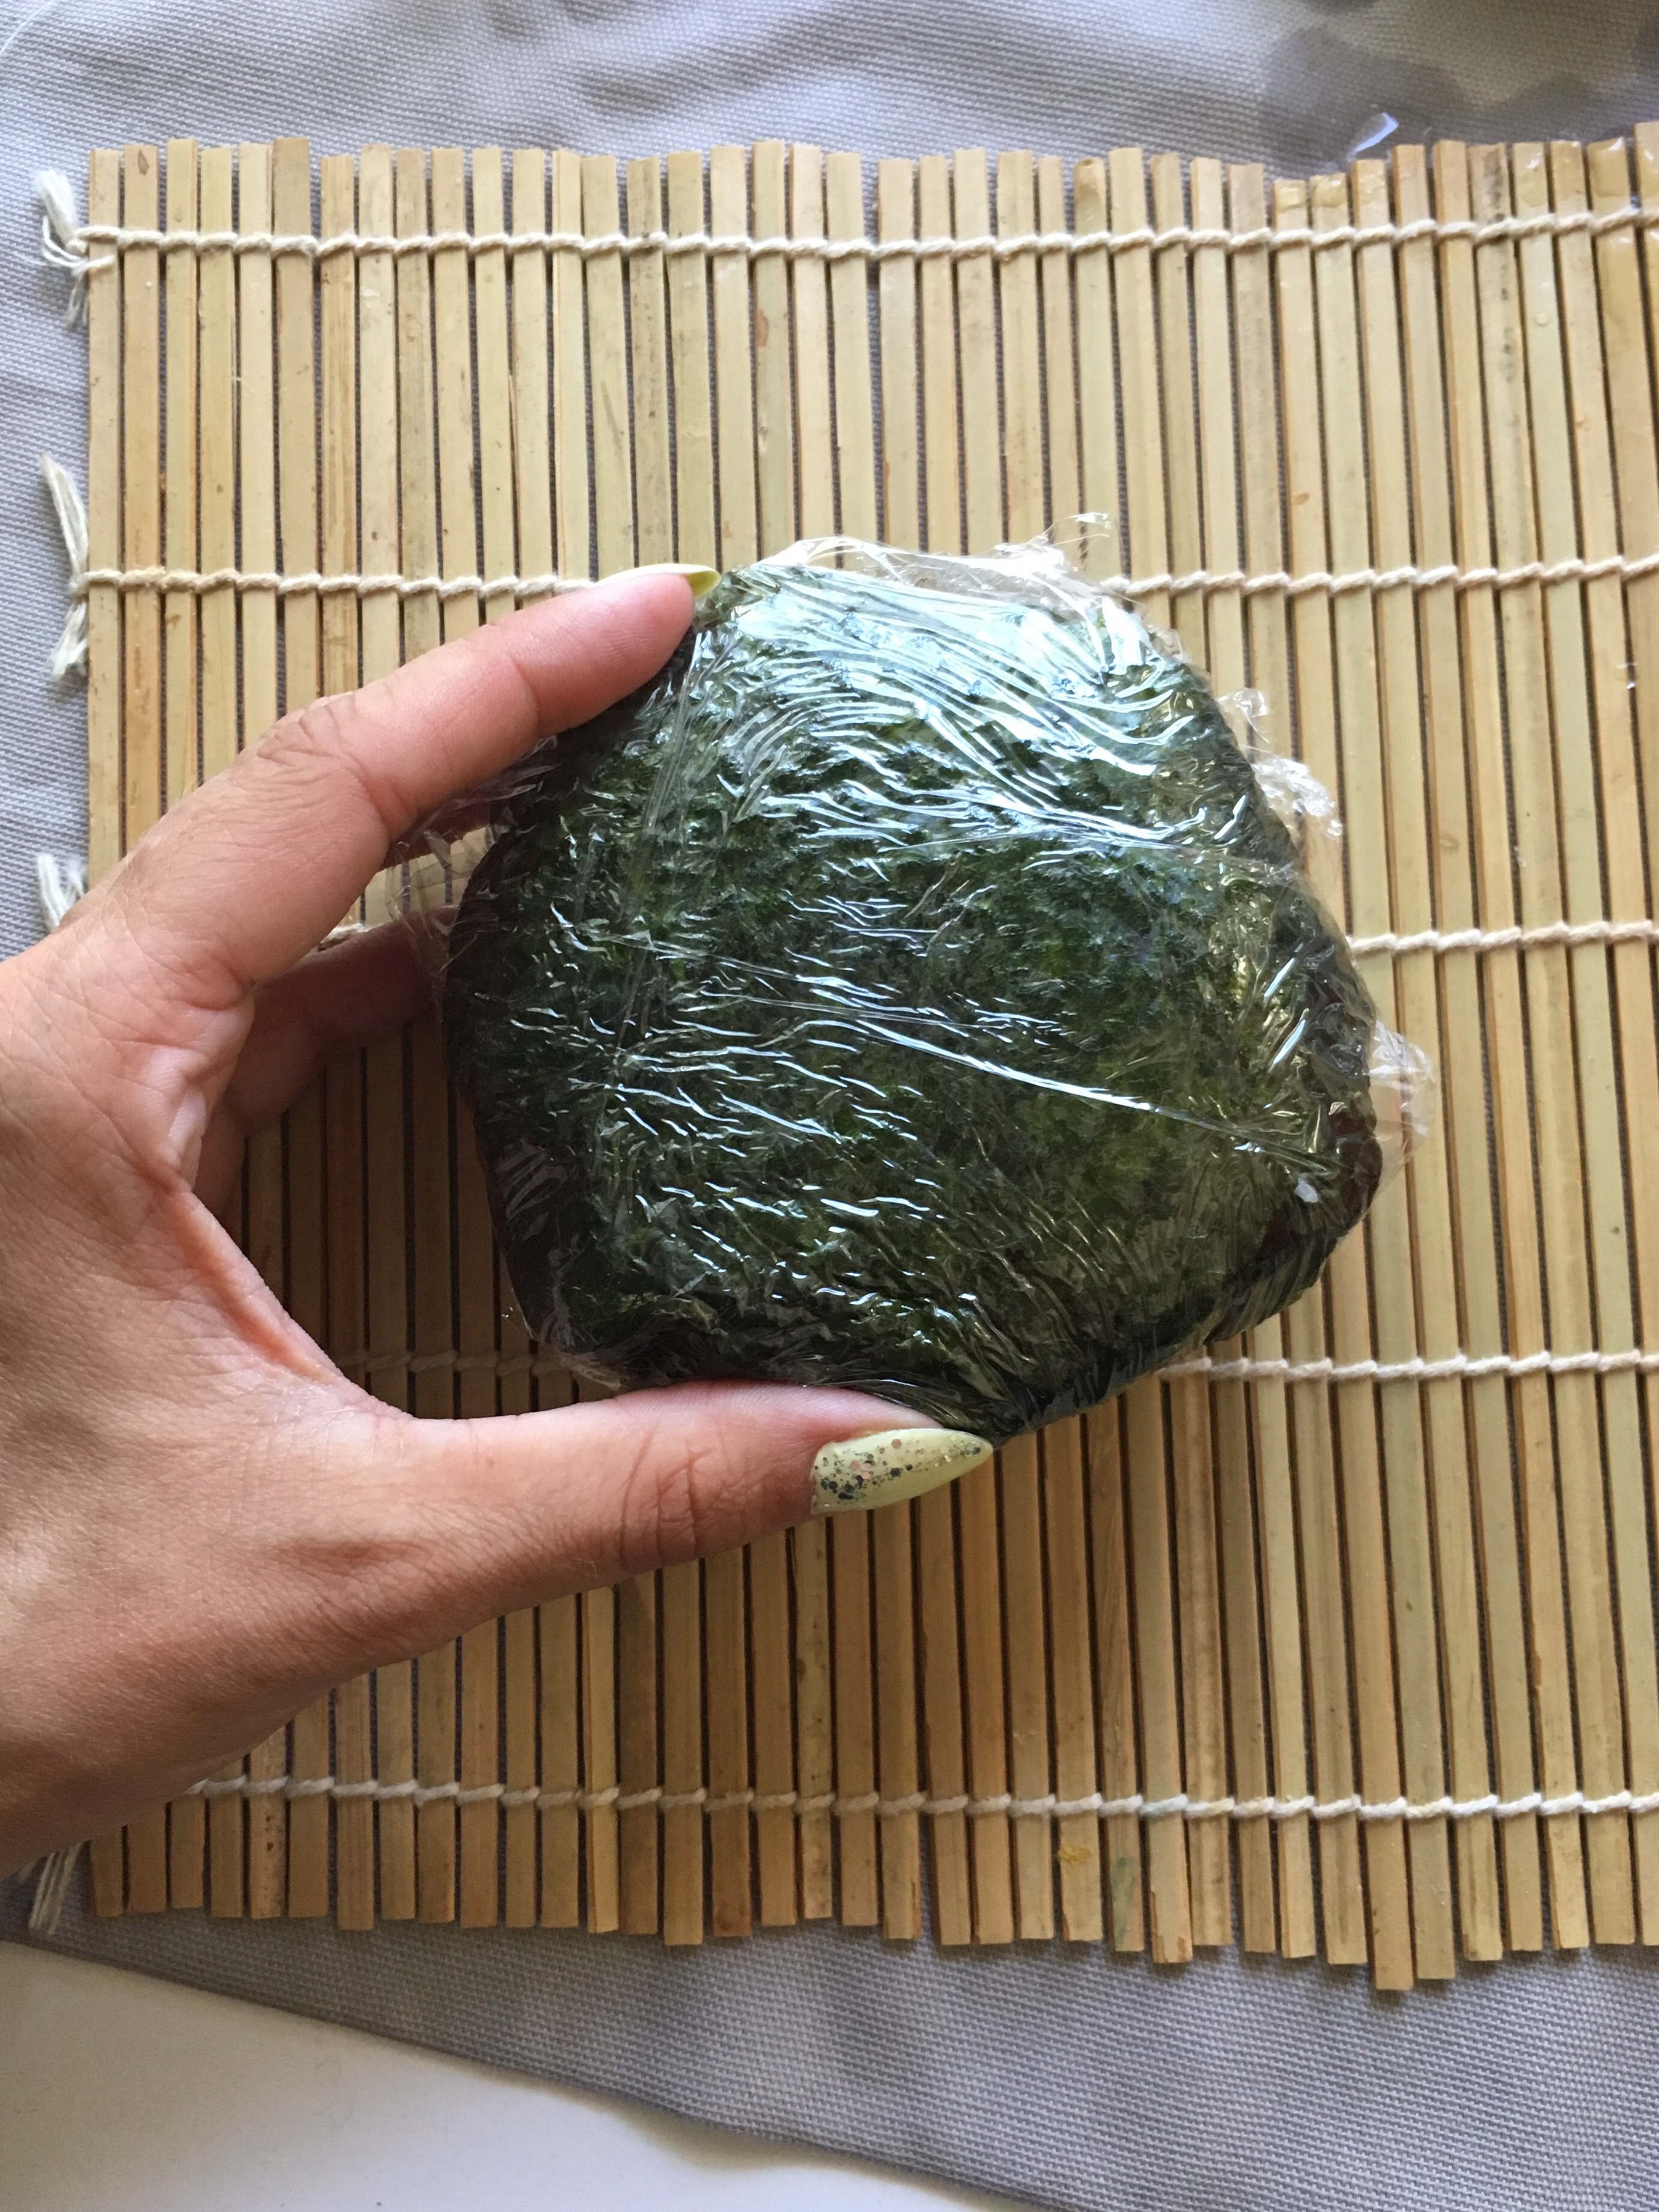
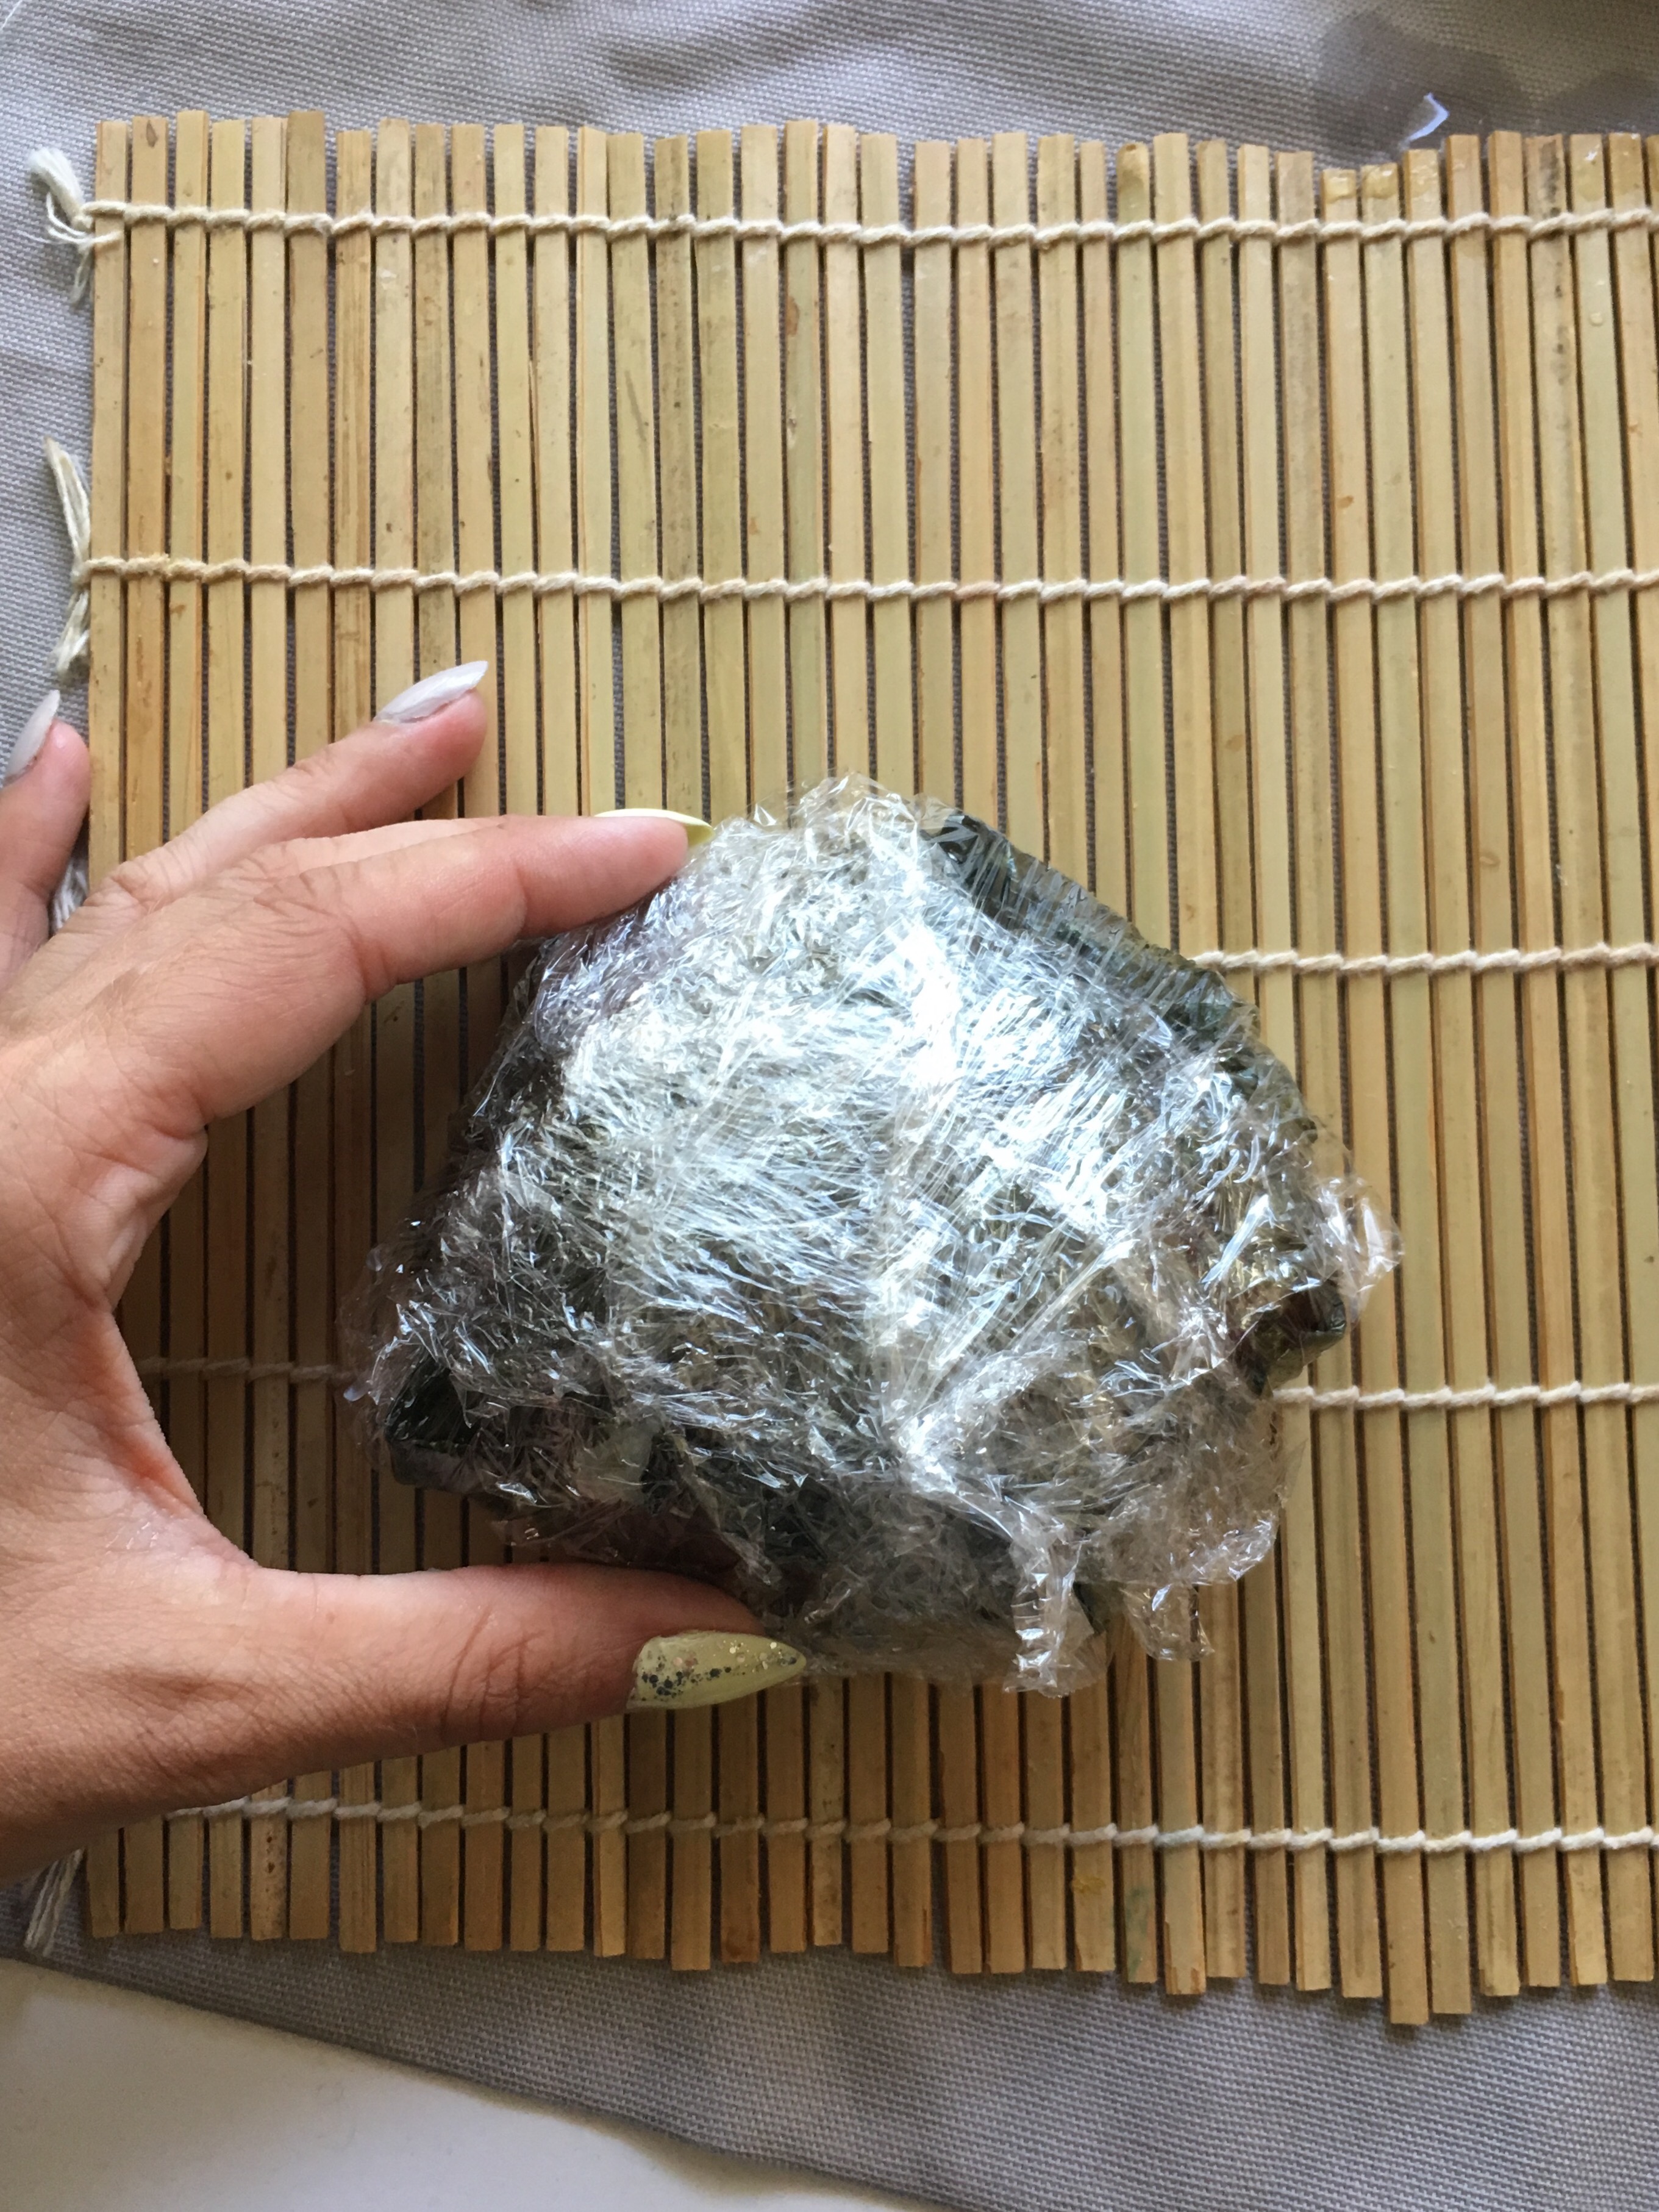
Let it sit for a good 5-10 minutes, while you gather up your super sharp, serrated knife, handful of sesame seeds, sauce for dipping (I love making sriracha mayo!), and whatever else you need to eat with.
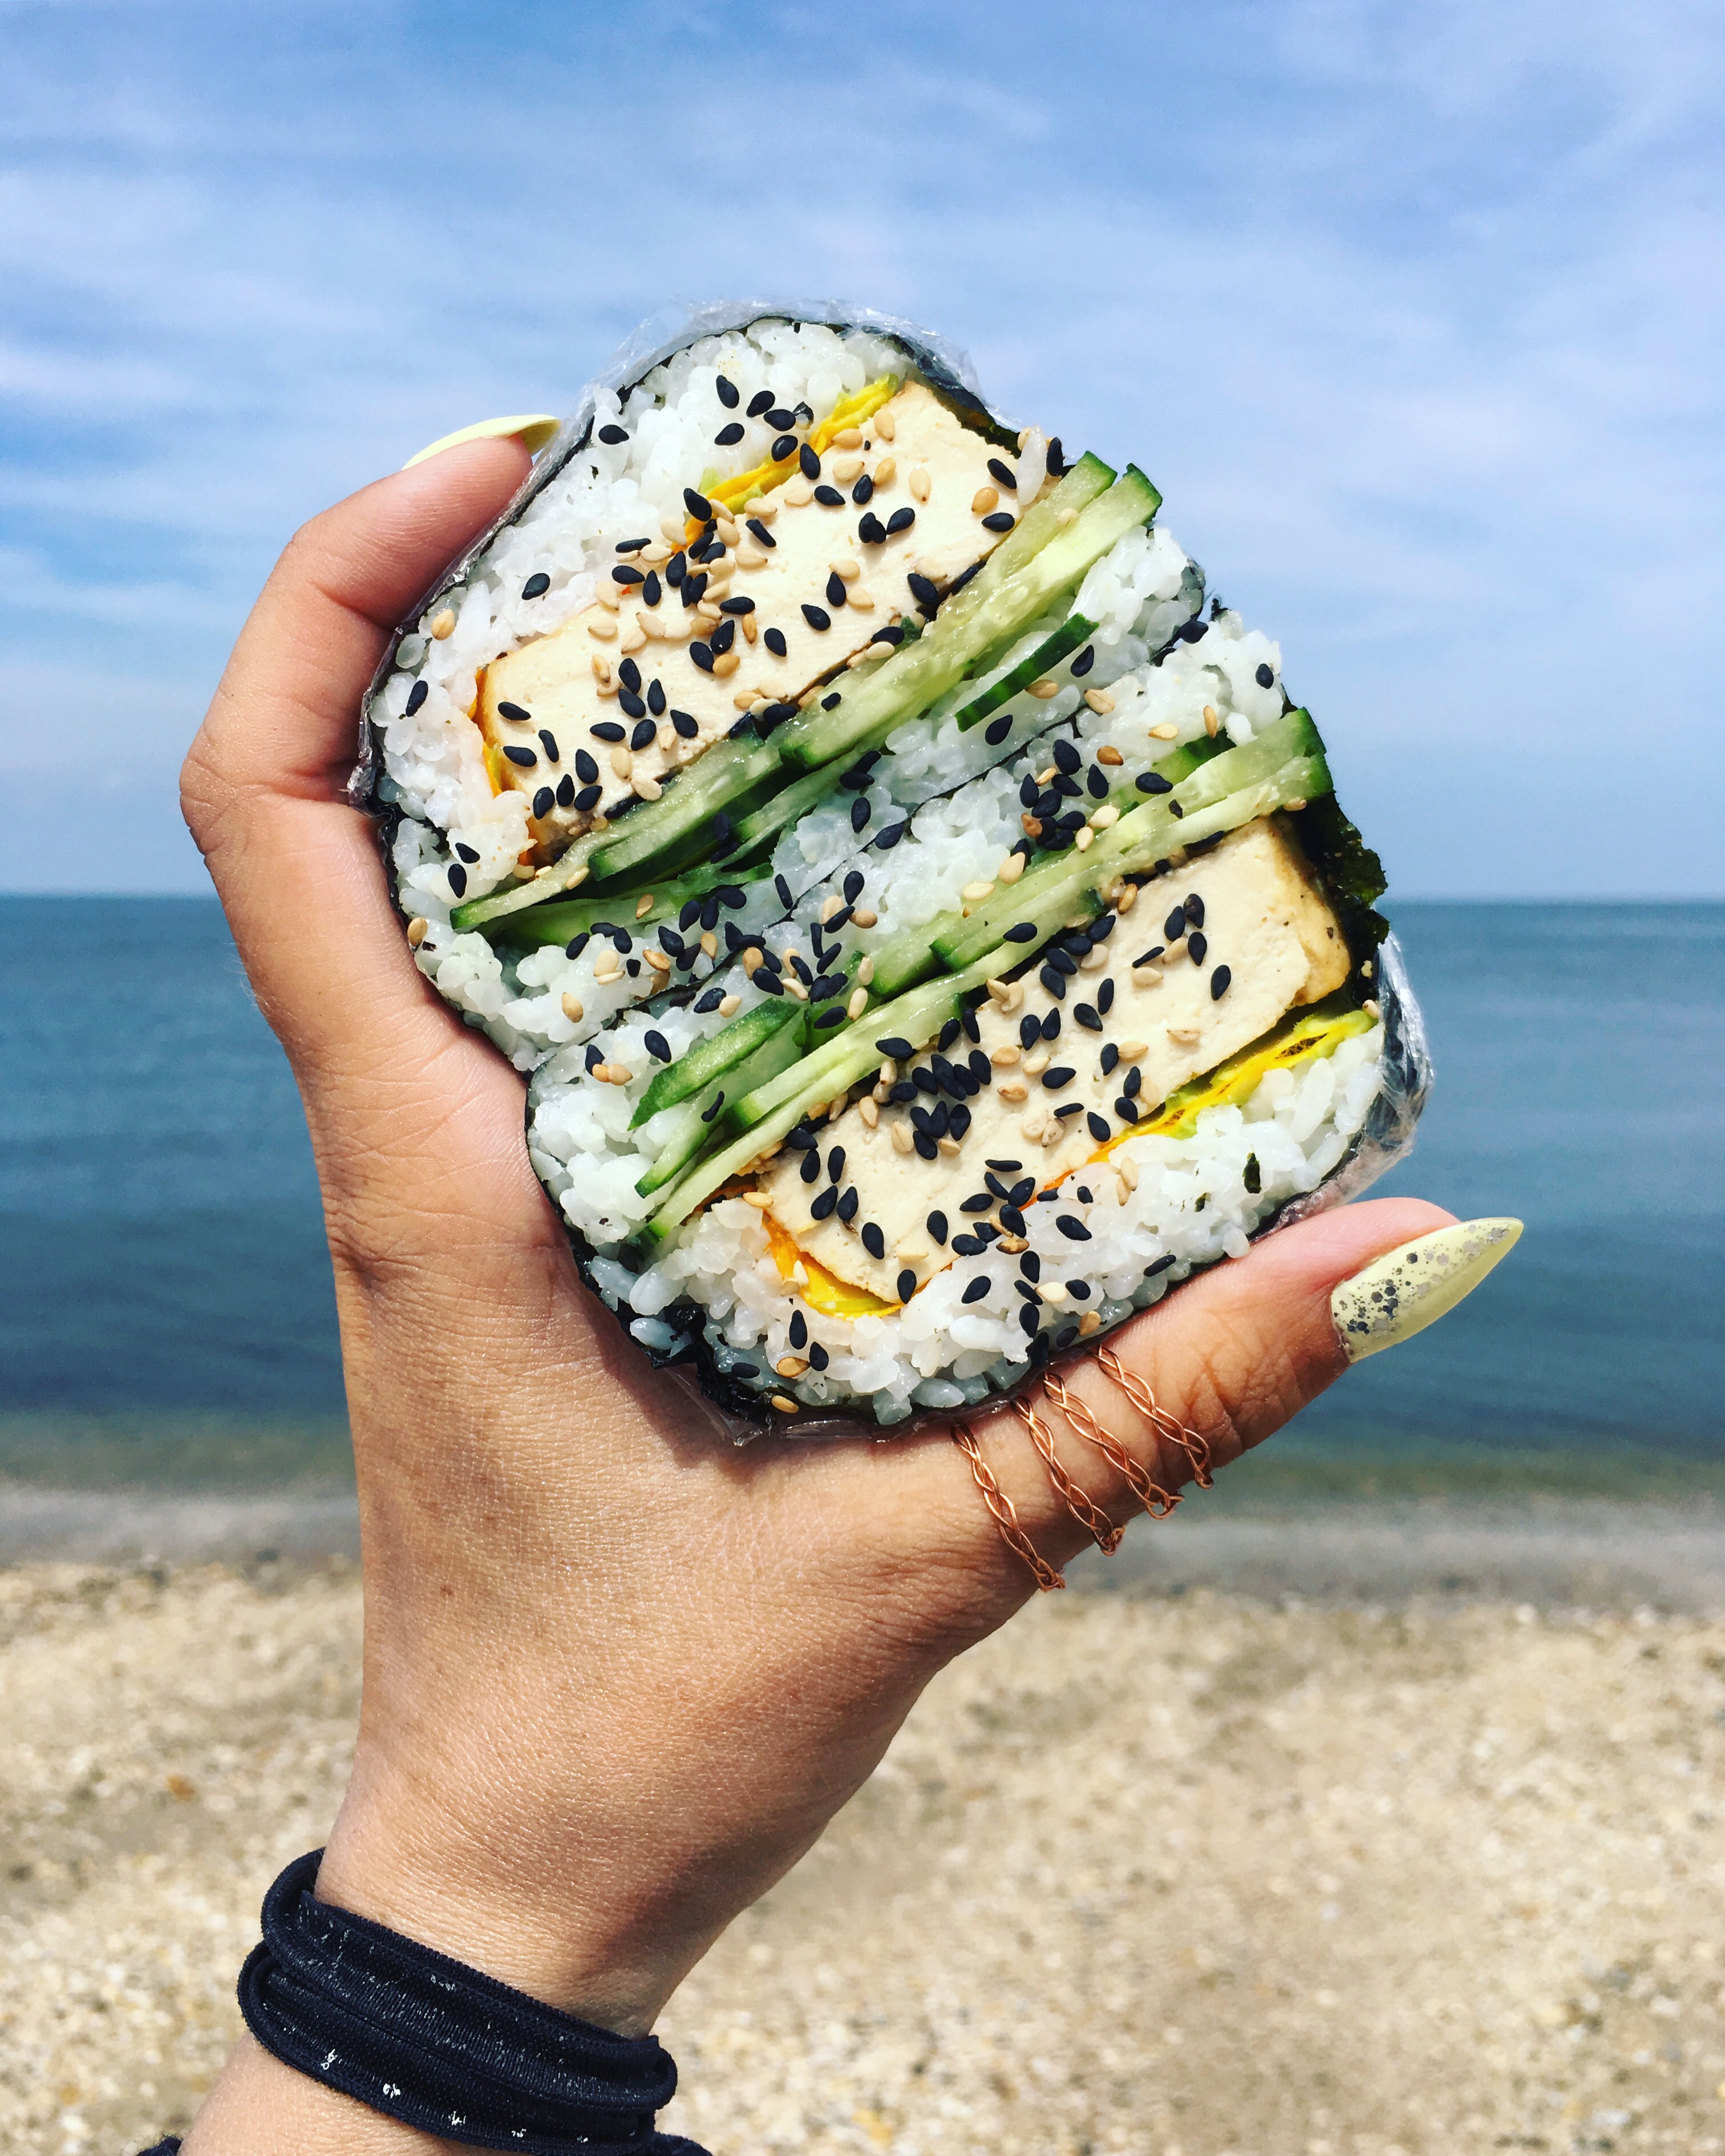
Poke a little hole in the side of your sandwich to make it easier to start to slice through.
Open it up and sprinkle some sesame seeds on before snapping a pic (because you know you’re gonna want to), unwrapping it, and taking a bite.
It gets easier with practice! You’ll get better at stacking and molding; I promise. 😉
Shoot any questions you have down below – or – send me a DM on instagram @celine_squared

7 Responses to “Onigirazu!”
Great tutorial babe! These look amazing!!❤️✨👌🏼
Thanks Jenna!! ♥️😙😙😙😙
Beautiful!!! I love the way you made sushi!
Thanks Tiffany!! 😊
I order sushi almost every day for work lunches I can’t wait to make these it looks so simple and yum!
Once you get the hang of it you’ll be addicted!! I’m working on an onigiri post as I type this…also addicting 😄
[…] You can check out my original post and the step by step details on how to by clicking here. […]